For the final week of the project, I had been working on fixing the simulation of the smoke trail also adding the portal effects, and also the final compositing of the shot. I think the final result turns out pretty good although there’s still a lot that can be fixed or added.
Pyro Smoke Trail
For the pyro simulation of the smoke trail, I ended up having two different approaches of the simulation layering together. The first layer is sourcing directly from the ground plane. I used multiple attribute transfers to get the same area to emit smoke over multiple frames.
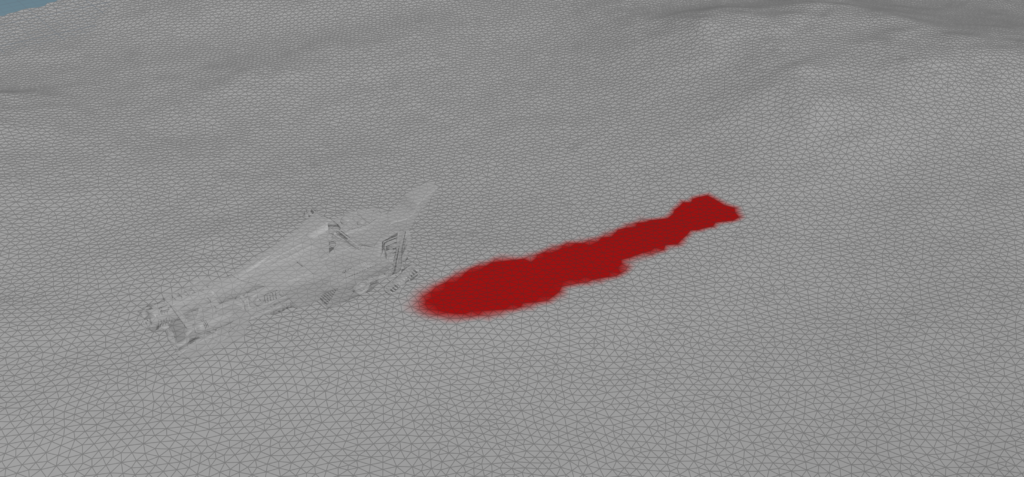
The second layer of the pyro simulation is based on the particle dirt simulation. I also used attribute transfer to get the source from the ground, but only with one layer since I don’t need it to keep emitting particles over time.
After the particle simulation is done, I used the particles that have not hit the ground as the source of the pyro sim. Here is the video of the result.
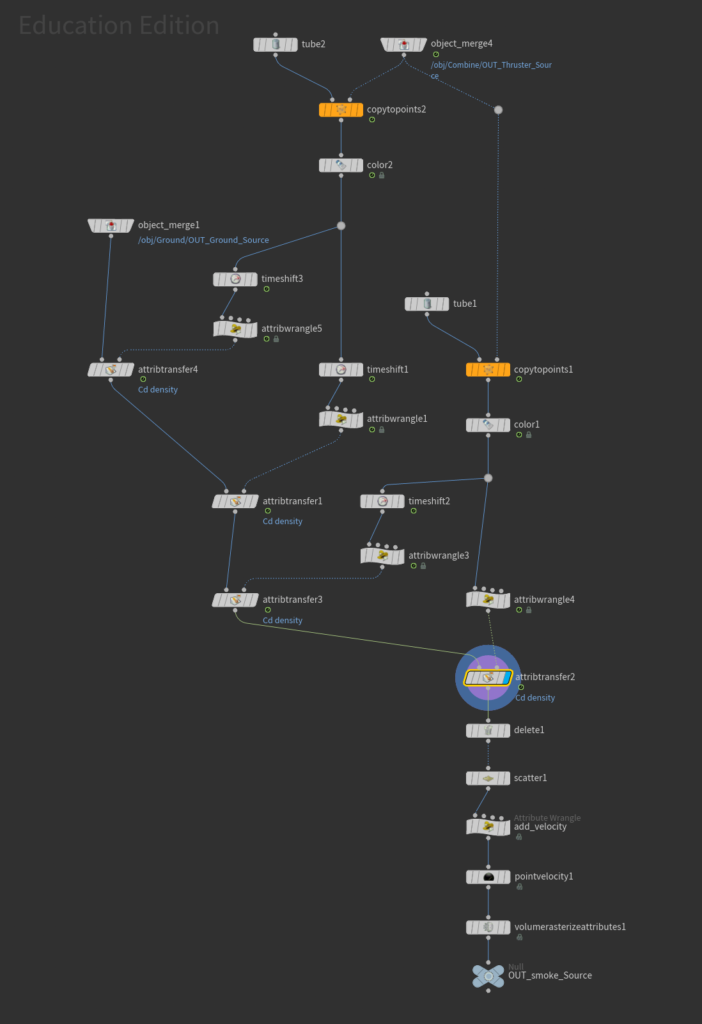
Portal Effect
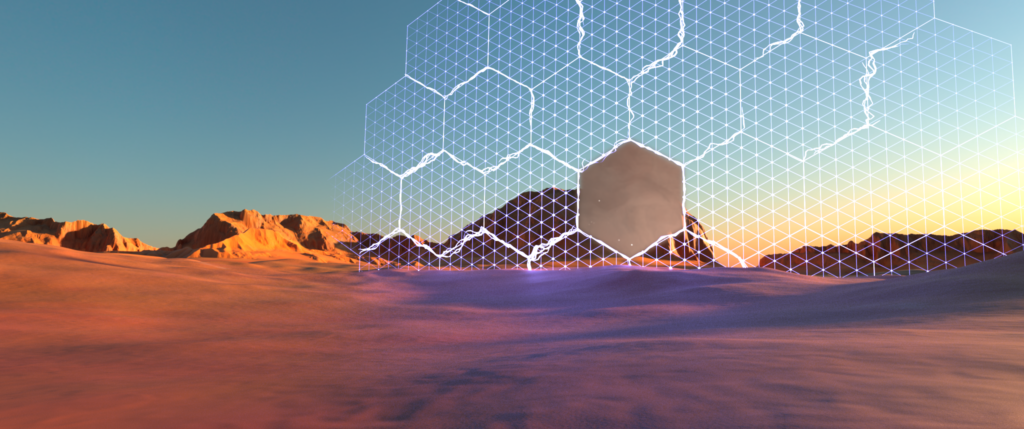
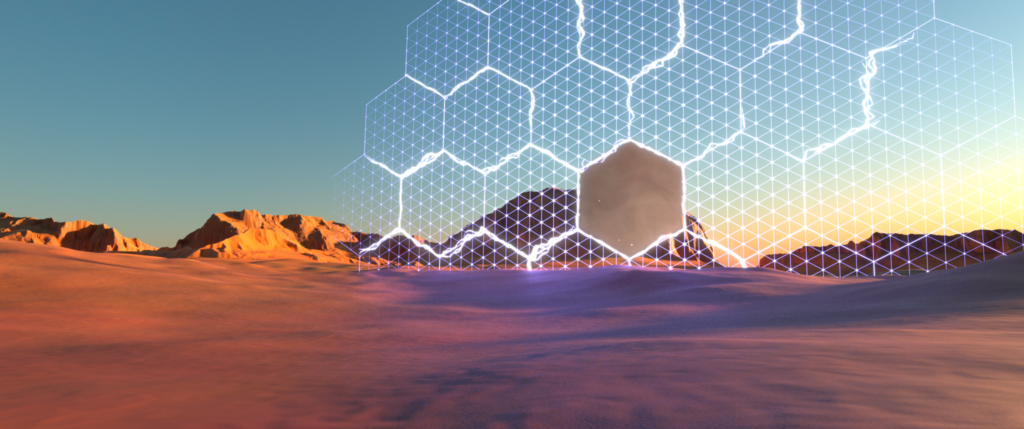
The portal effect is created based on the keyframe animation based on the distance from the center of the geometry. I use this to animate attributes like pscale that will be used in different parts of the effect.
The lightnings were created using some VEX and the “findshortestpath” node. I grouped the points of the center face as the start points and the points at the edge of the grid as endpoints for the node. Next step, I randomly delete points from both groups before finding the shortest path to create a different path for every frame. Additionally, I also delete some faces in the middle of every frame to add some variation to the path and added noise to the line with pointVOP to give it the lightning look.
After I got the different paths for every frame, I merge multiple variations of this using the for-each loop before inputting this to the solver for the animation. On each path, I created 3 attributes which are speed, delete, and length randomly. The lines are then input into the solver to calculate over every frame.
The basic concept of how I create the lightning animation is that the solver will use the @length to make points on the line white if its @curveu attribute (position on the line) is between the @delete and @delete + @length, and make it red if it’s not. Then, it will add @speed to @delete. Therefore, the white part will move along the line over time, and I can just delete the part of the line that is red to create the effect that the lightning is moving along the hexagonal grid.
In addition to the lightning, I also added the dotted grid by remeshing the original hexagonal grid.
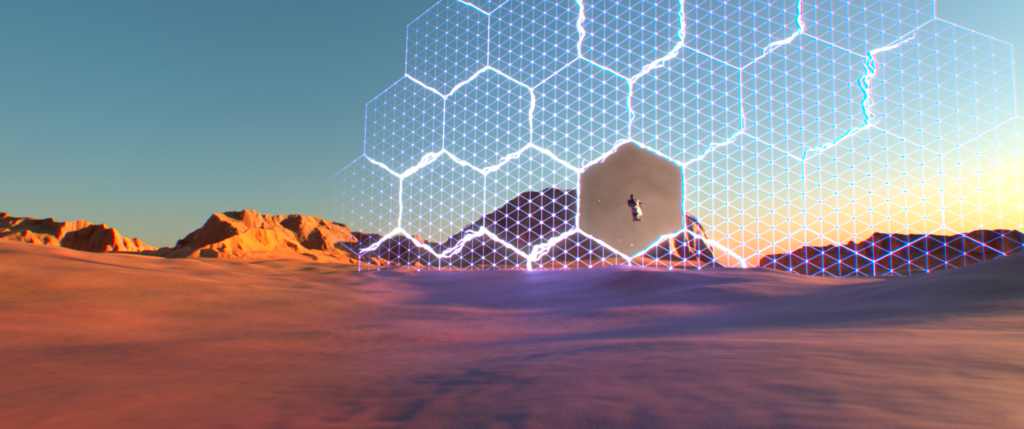
Compositing
In order to composite the biker passing through the portal, I rendered several render passes with different objects in it and AOVs. I also added lens distortion, chromatic aberrations, and depth of field inside Nuke using the same technique I learned in the meteor project. Special thanks to my good compositor friends Nicholas Neff and Kristof Monori for helping me understand how to composite everything together.


To-Do List:
If I have more time to come back to this project, here are some of the things that I would like to add, fix, or change:
- Add more stuff like plants and rocks to the scene
- Add more details to the mountain cliffs in the background
- Re-simulate the smoke trails
- Add some interaction between the portal and the ground
- Add some more effects to the portal