I have always wanted to make my demo reel intro into 3D for a while and I finally have time to do it. Ever since I made the Banana Man projects, it has become an iconic character from my works that my friends talk about. Therefore, I wanted to add him in the demo reel introduction like the the lamp in the Pixar intro animation.
Here’s my old intro animation made in After Effects.
I liked how my old intro works because it is simple and effective in my opinion. Therefore, I came up with the idea of the banana man running away from the rolling logo.
Banana Man
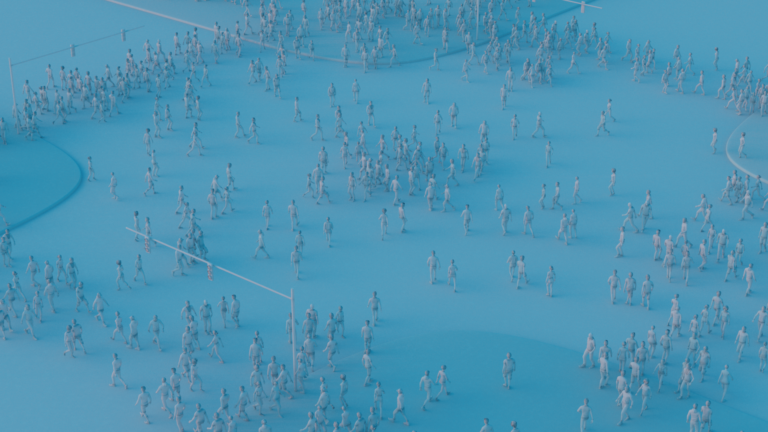
Since I am not an animator, I used the “running” and “look back” animations from Mixamo.com. Here comes the first issue I encountered which is blending both animation together. I know that there are tools within KineFX in Houdini that can blend animation together, but I couldn’t figure out how to blend animation when the character are not in place. Therefore, my solution to this is using crowd in Houdini since I can just convert the animation into in-place animation, set up the transition, and crowd solver will just take care of it.
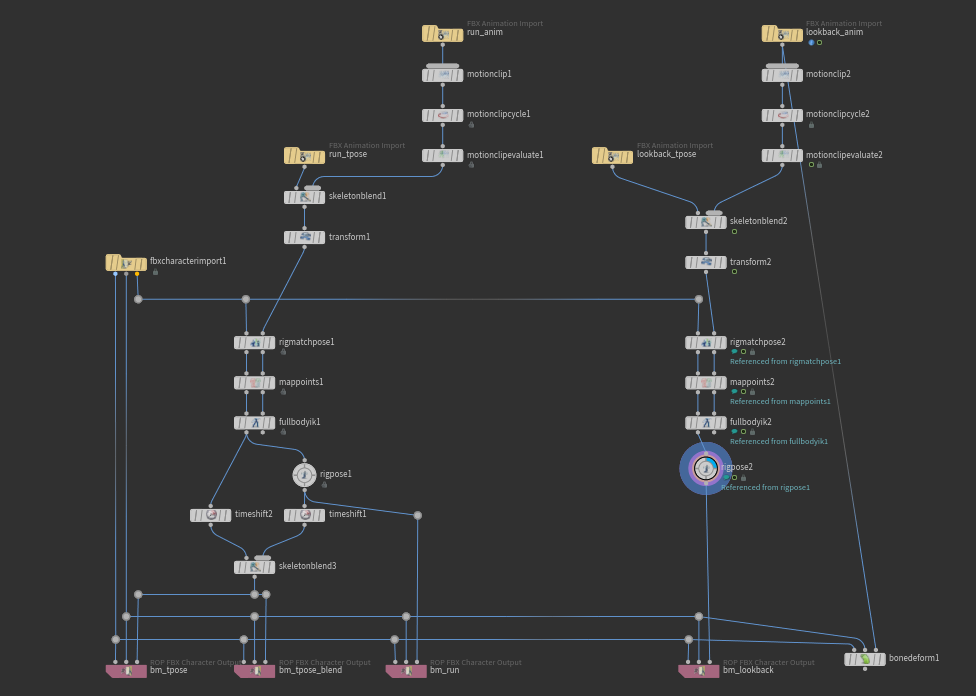
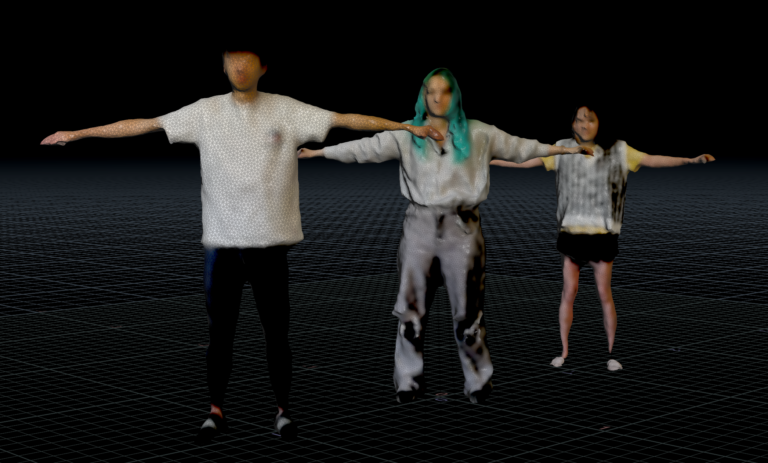
First of all, I have imported the Banana Man character with rig that I created before, and then re-targeted the animation to him to export out new animation FBXs. I have also exported the “tpose” and “tpose_blend” to have the animation started from tpose and blend to running in order to simulate the jacket.
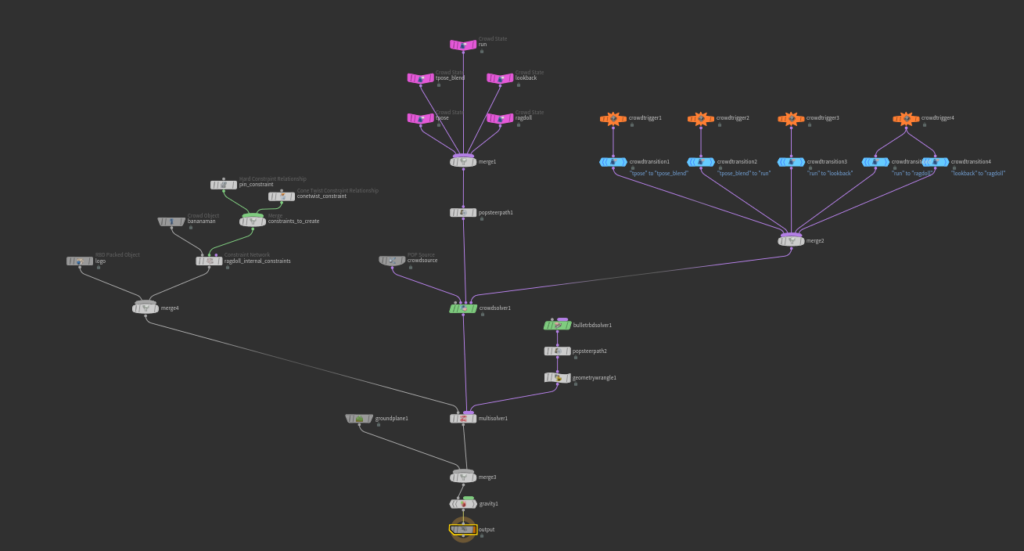
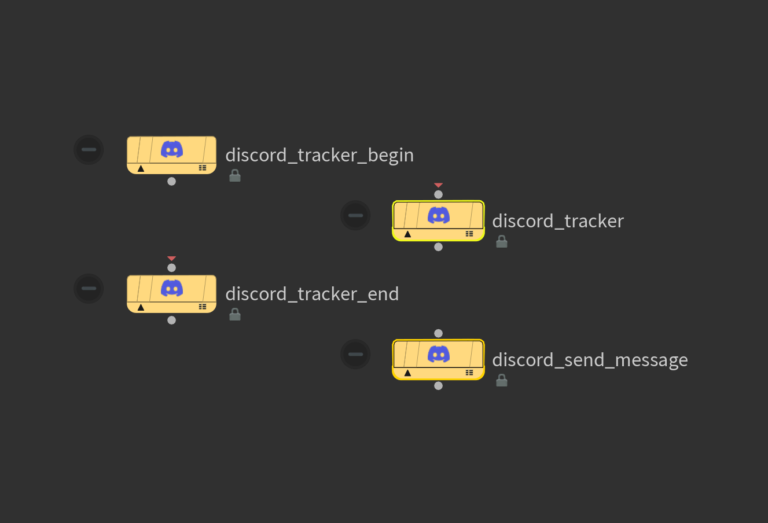
For the crowd sim, I used a “popsteerpath” to keep the banana man walking straight because he tends to walk off center after the animation transitioned to “look back.” Additionally, I also used it to speed up the cylinder place holder for the logo, and a wrangle node to slow it down after it passes a certain position.
Although I already did a rag doll simulation for the banana man, I had to resim the fall to add some exaggeration and sim with the jacket so it would be more accurate.
After all the vellum sims of the banana man and his jacket is done, I just copied the old fur set up to this one with a little adjustments. The main thing I have changed from before is the density and width of the fur because he is further away from the camera which means I don’t need as much fur as I need.
Logo
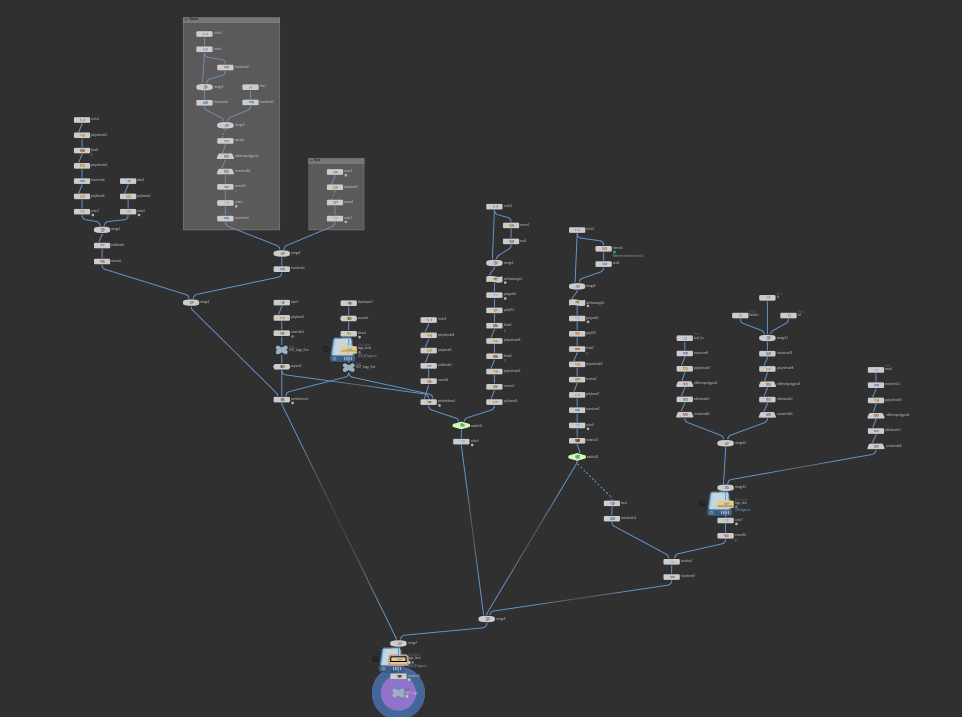
Recreating the logo is pretty straight forward. I just need a few circle nodes, curve and font node for the text. To animate the logo, I used the simulated cylinder in the crowd sim to point deform the logo in the front.
For the text in the back, I had two have circle that is key framed to follow the animation and I just need to use the addprim VEX function to connect it into a face. Finally, I used the poly-extruded face to boolean the text of my information to delete the part that shouldn’t be seen yet.
With this finished, I will start working on creating an ending animation!