
Early on in the project, when we discussed how we would approach the project, we decided that we would photogrammetry people instead of purchasing models of people from the internet. In this case, we would be able to save money, have ourselves in the project, and have a 3D model of ourselves if we ever needed one.
While we were researching different ways of bringing ourselves into 3D, we came across several different ways of doing it.
Photogrammetry
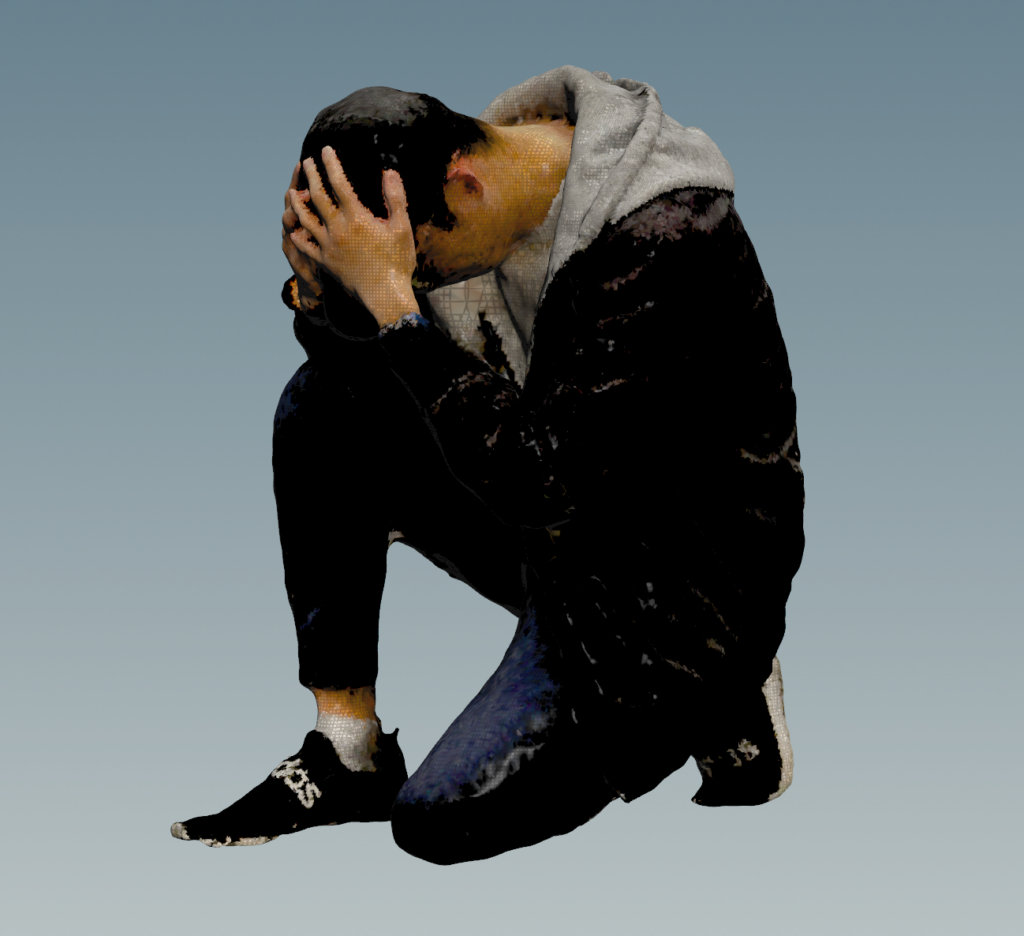
The first method we tried out was using traditional photogrammetry by using software like Polycam, Metascan, Reality Capture, and Meshroom. However, there were always some downsides to this method and the photo below is one of the results from our testing.
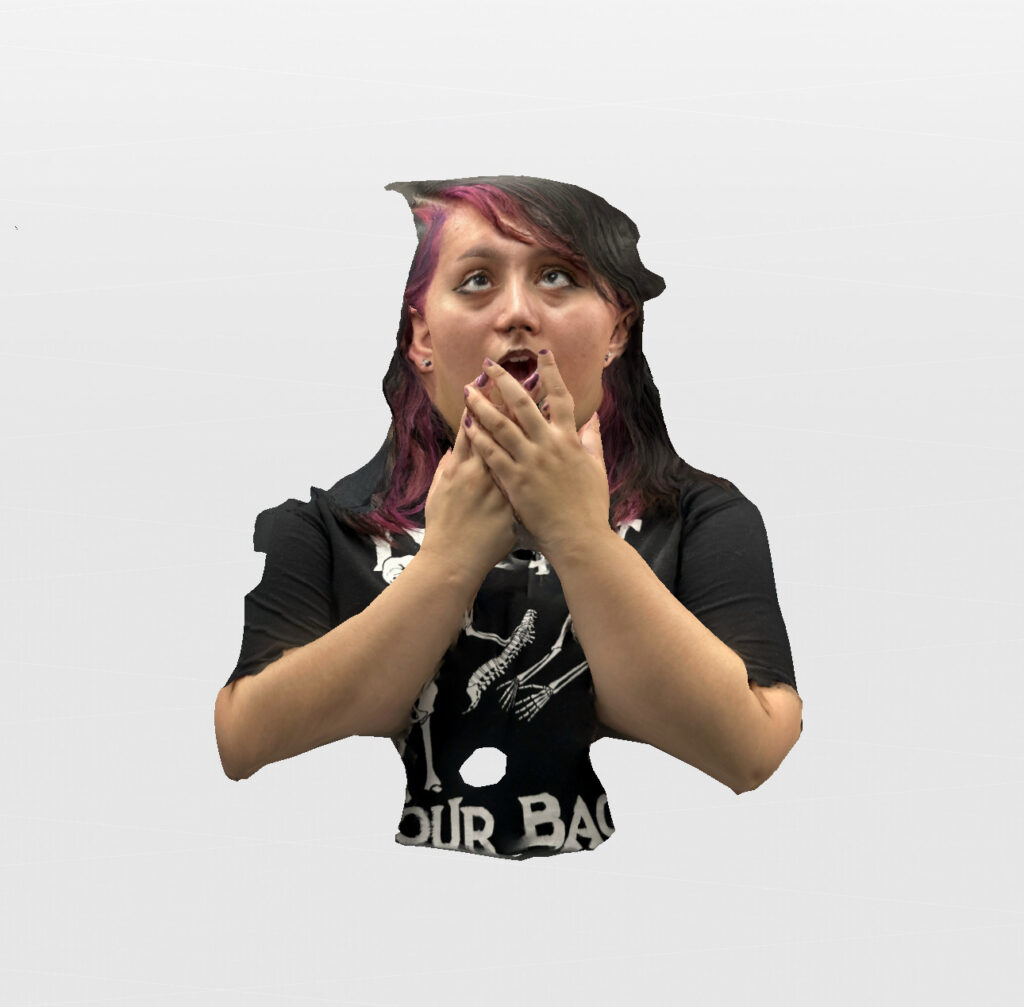
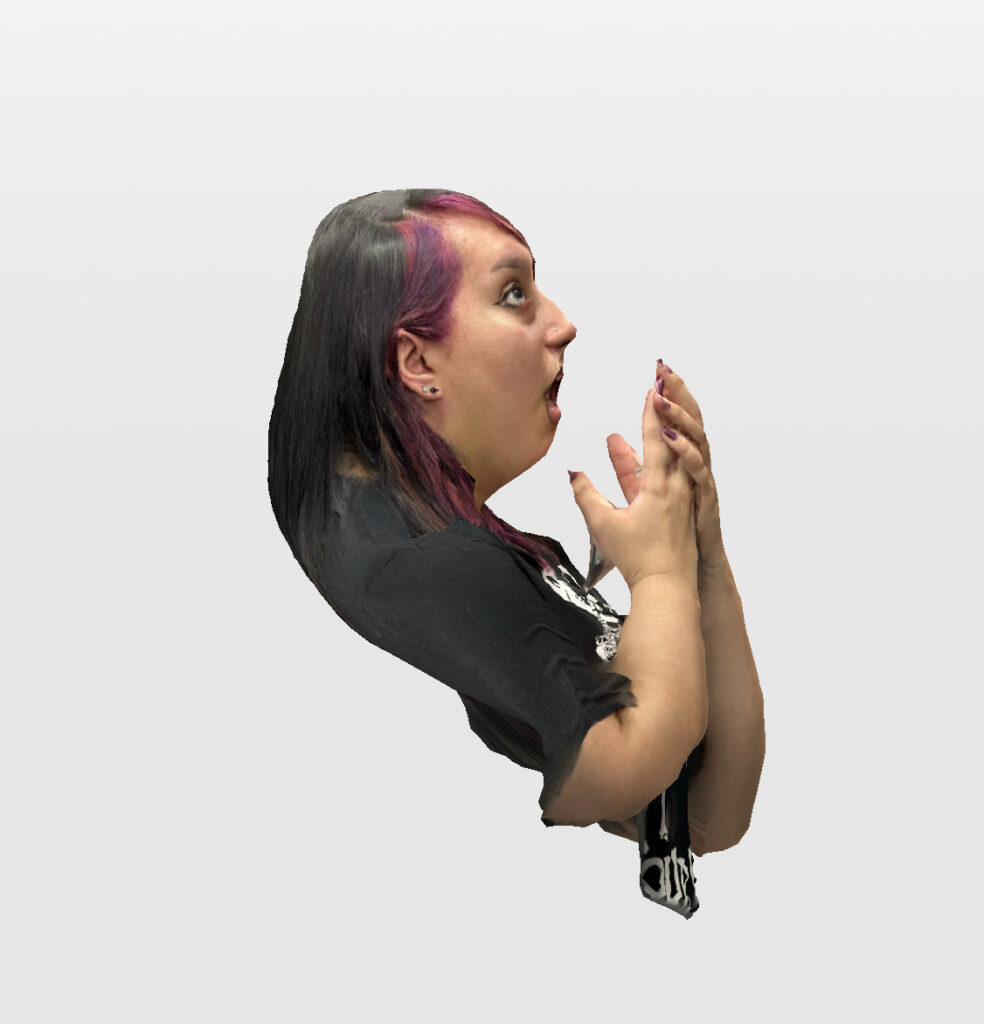
For example, we prefer not to spend money on subscription services which means Polycam and Metascan were out of the picture. Secondly, photogrammetry requires texture or pattern on the subject for it to construct a point cloud, but we didn’t have the opportunity to gather all of our friends at the same time and ask them to wear t-shirts that have some patterns on them. We usually steal our friends from their homework for a few minutes and let them go back to work. Therefore, the results never turned out as we wanted them to be. This is when we started to explore different methods.
Gaussian Splatting
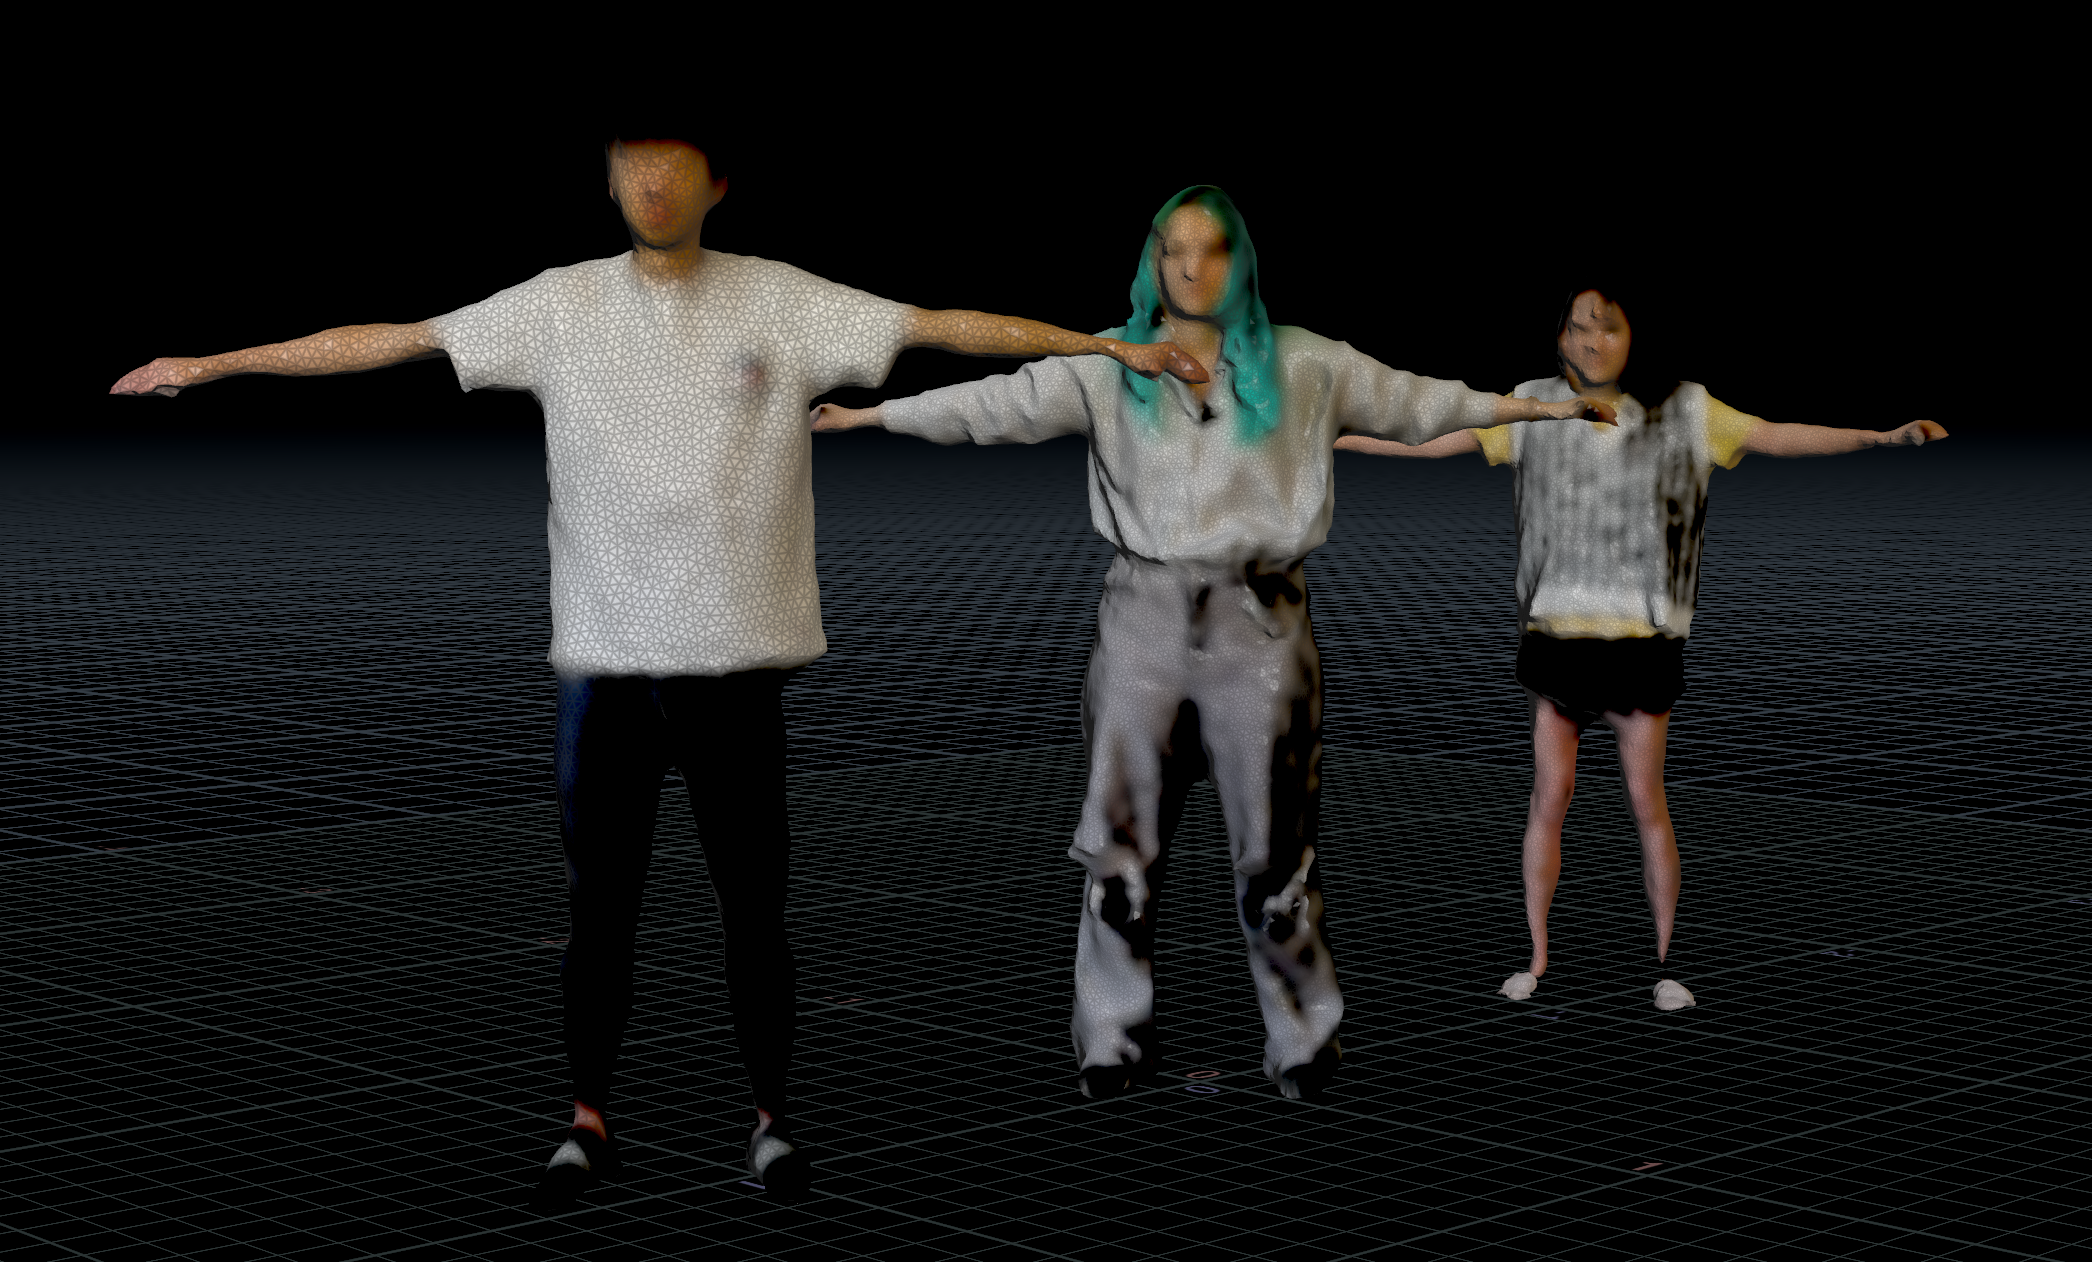
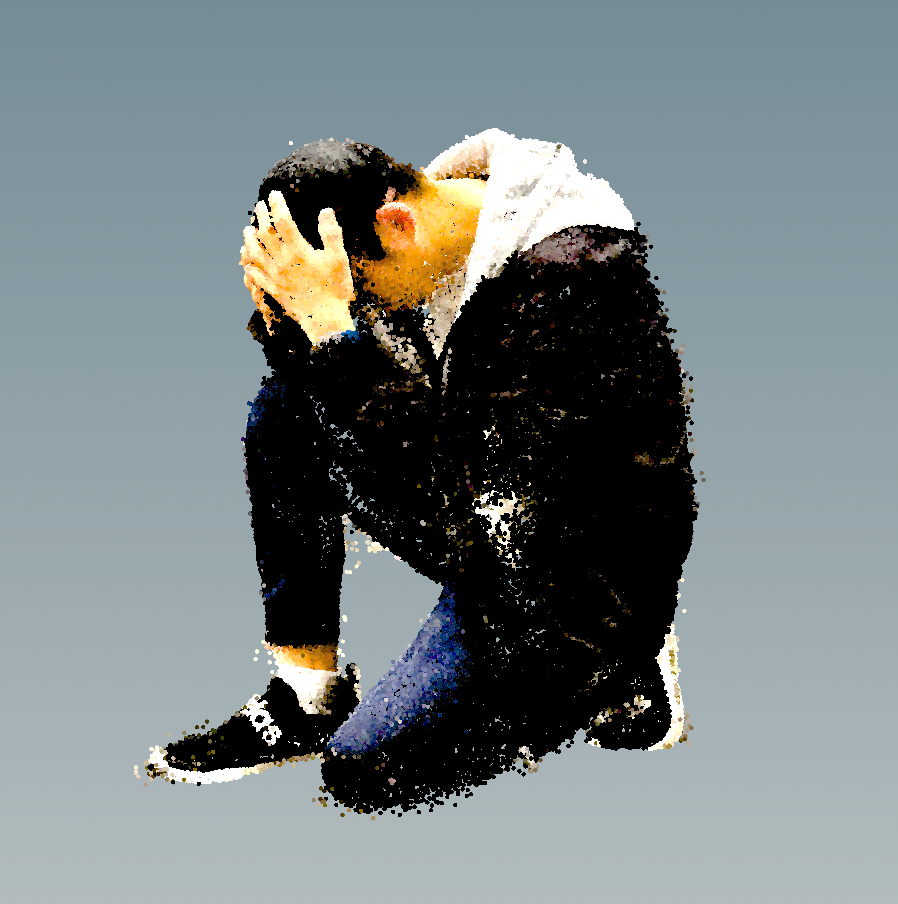
After experimenting with photogrammetry, I researched other apps that I could use on my phone for scanning people, and this is when I came across the free app called “Scaniverse.” It is a free scanning app that can be downloaded from the Apple store. It has two methods of scanning including a Lidar and Gaussian Splatting. We tried both out, but Gaussian Splatting is our final choice because of its speed and quality.
Although the software can convert the Gaussian Splatting point cloud into mesh which we can export as an obj file, we decided to export the .ply Gaussian Splatting point cloud and convert it into mesh in Houdini for more flexibility and better quality control.
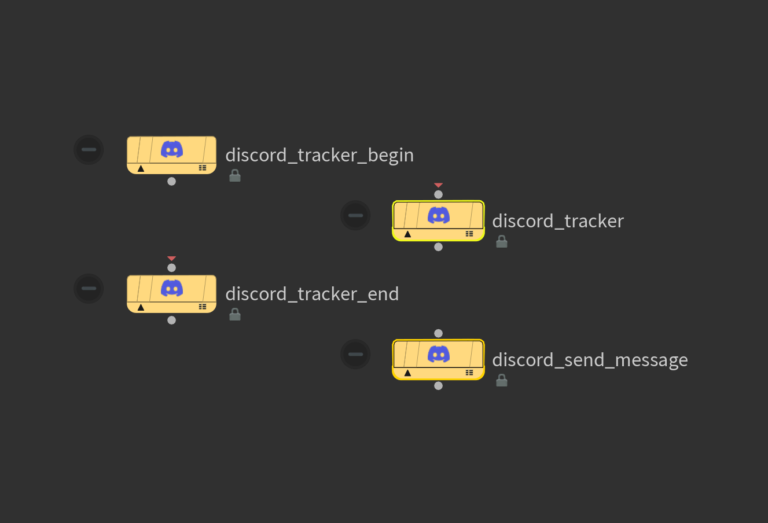
Scaniverse to Houdini
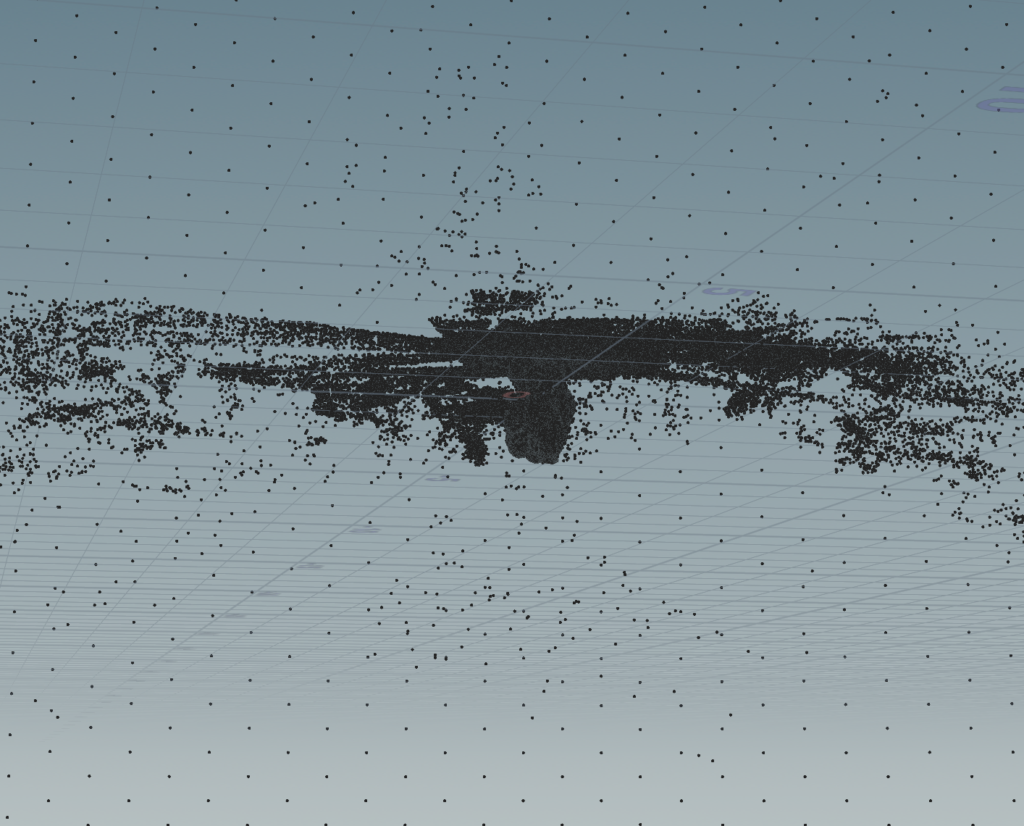
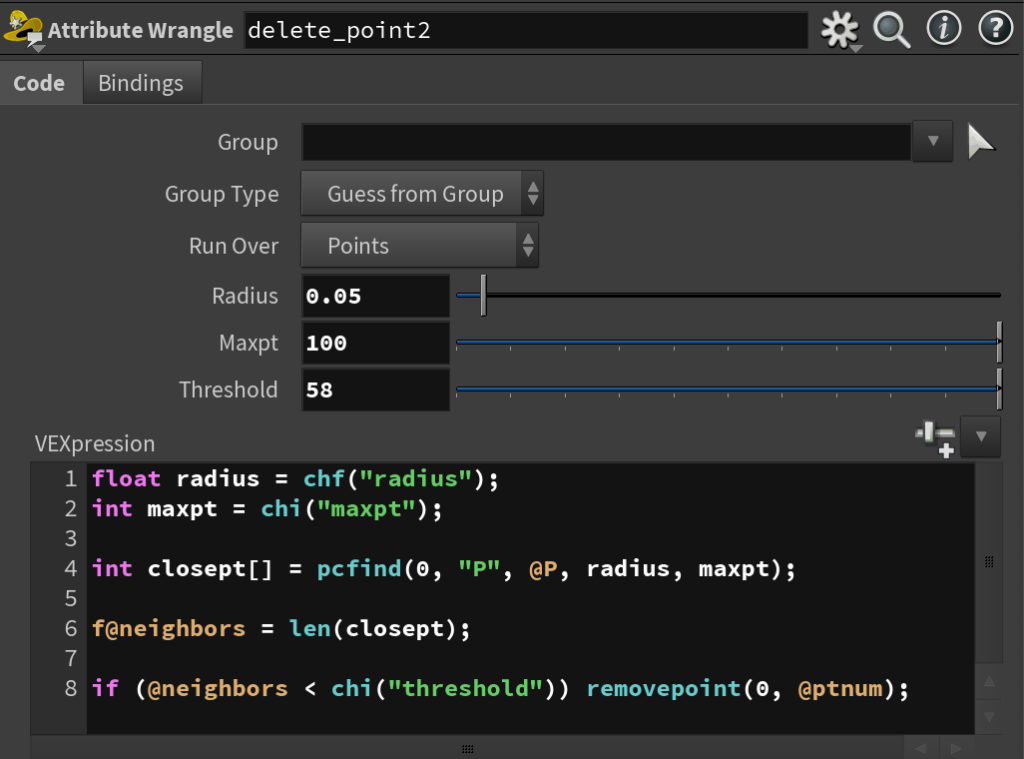
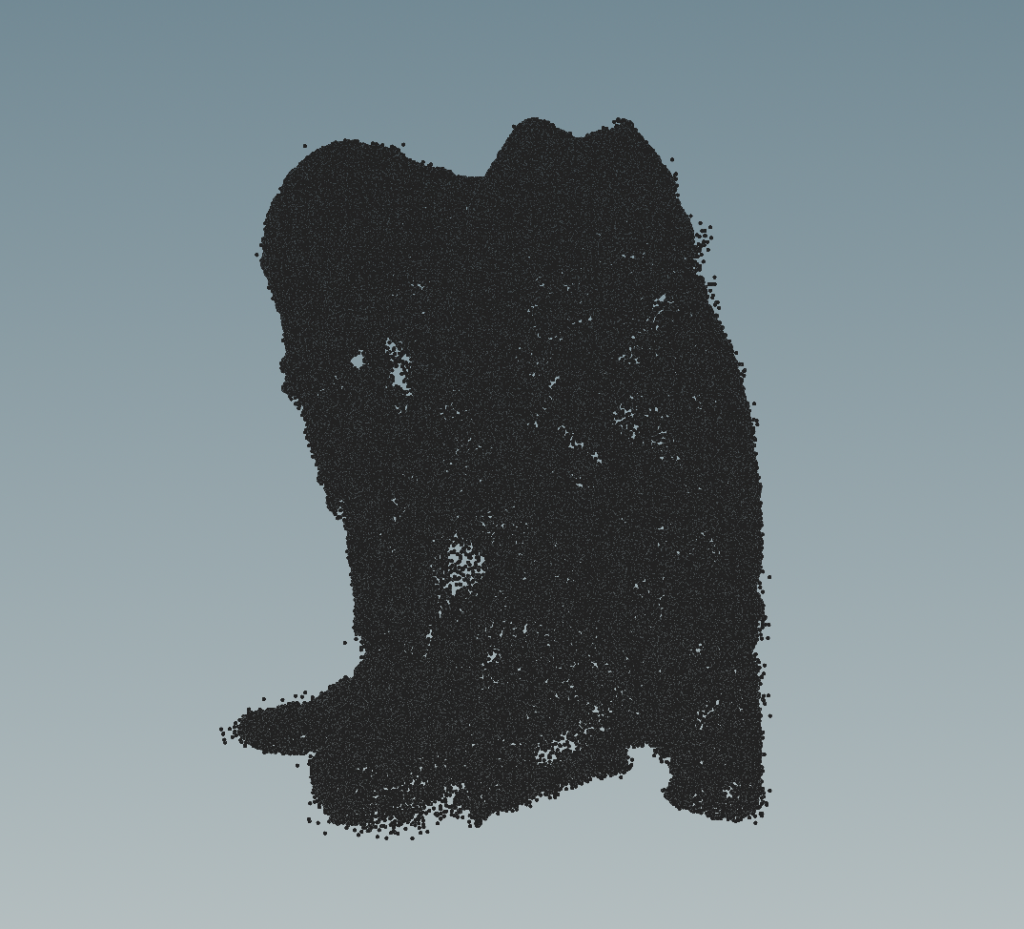
After the scan has been processed, we can just simply open the Gaussian Splatting point cloud .ply file with the file node. The first thing after reading the file is to rotate it by 180 degrees and remove parts of the scan that we don’t need. However, there usually are some floating points around the subject, so I created a simple delete by VEX code to delete points based on density by using the “pcfind” function.
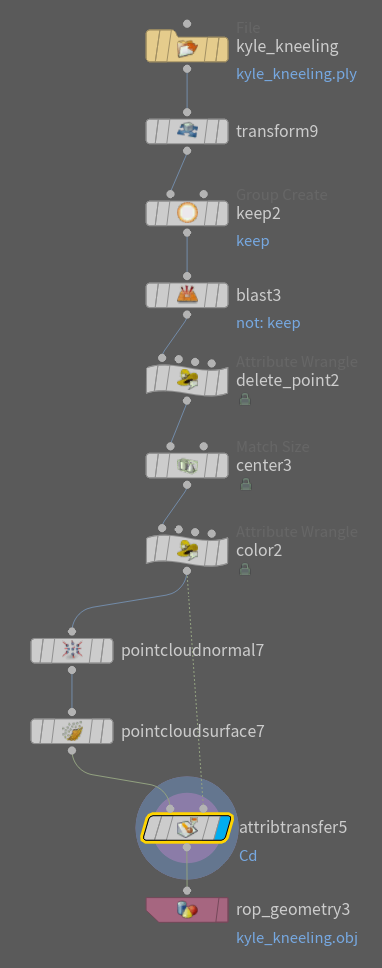
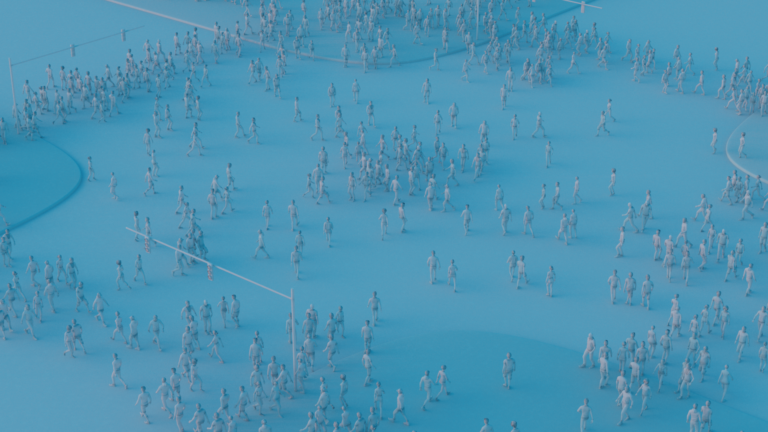
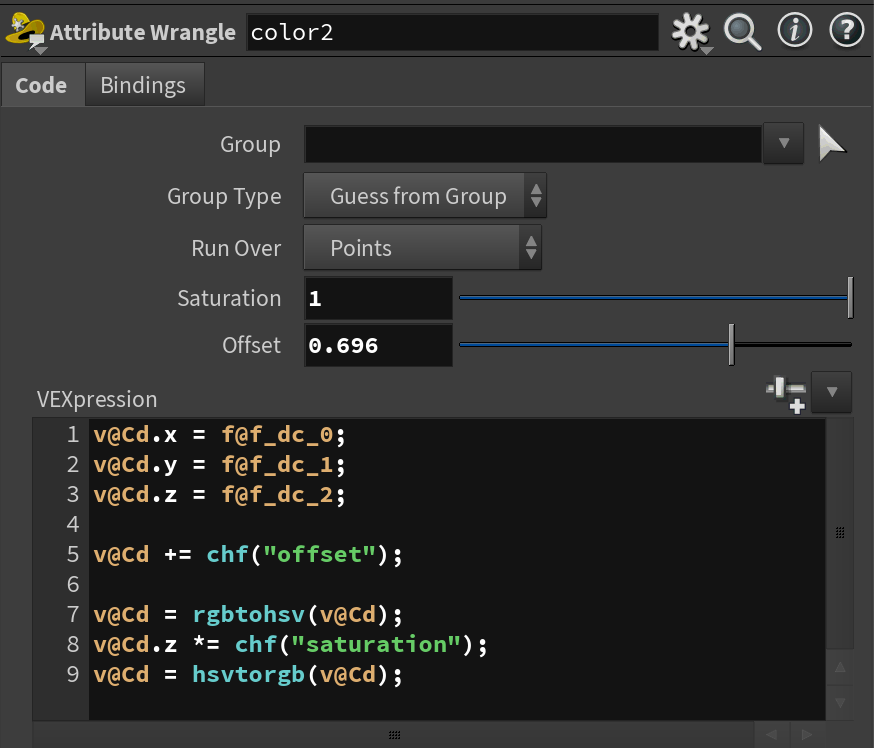
Although we are not using any texture color for the project (see crowd simulation blog), I added the color back by converting the @f_dc_# attribute on the points to @Cd which Houdini recognizes. One thing I am not sure about is the value color seems to be over-exposed. That’s why I added the parameter to adjust the value.
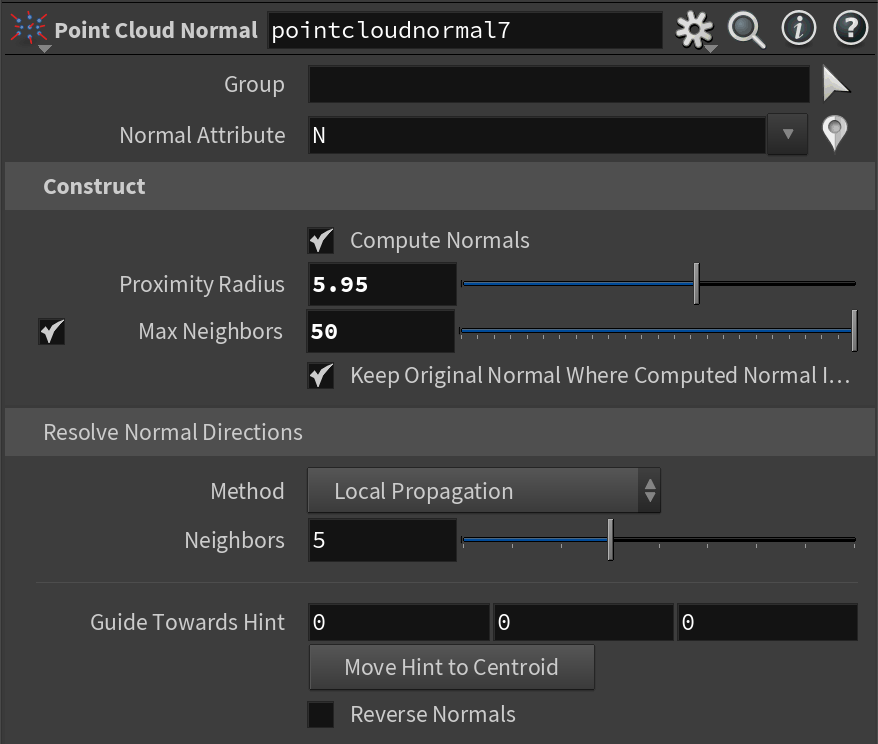
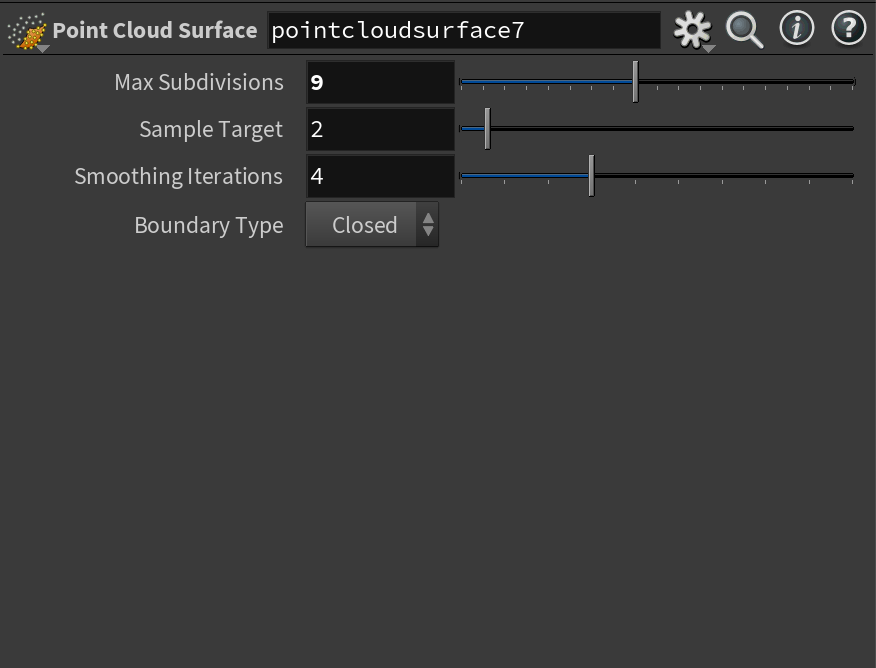
Finally, we can just use the 2 new point cloud nodes “Point Cloud Normal” and “Point Cloud Surface” in Houdini 20 to convert the point cloud into mesh. Point Cloud Normal calculates the normal of where it is facing based on the points around it, and Point Cloud Surface uses the normal information to convert the point cloud into a mesh.
In order to adjust how much details are preserved after the meshing process, we need to play around with the “Max Neighbors” parameter in the Point Cloud Normal node.
Higher Neighbors -> Smoother Normal -> Less quality but more accurate
Lower Neighbors -> More Noise in Normal -> More details and holes in the geo