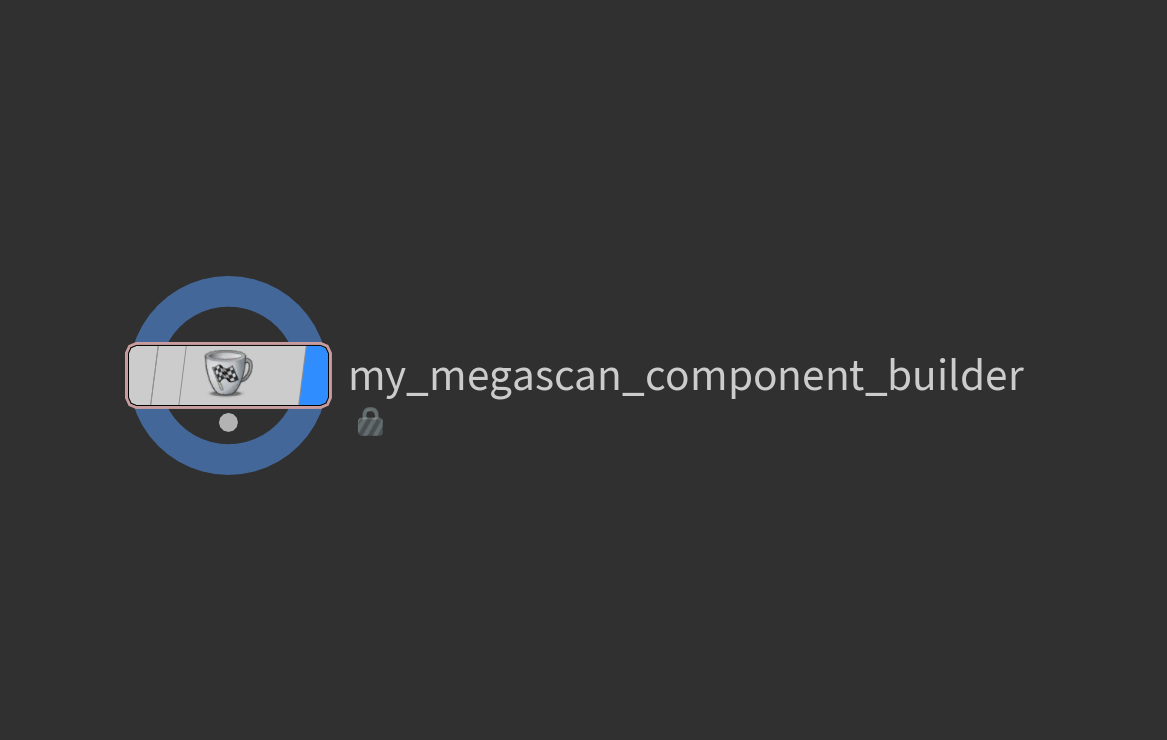
“My Megascan Component Builder” is a workflow toolset I created while doing the River project to simplify the steps of bringing Megascan assets to Solaris as USD assets. The toolset is inspired by the USD series by Adrien Lambert.
My Megascan Component Builder is a toolset with two tools, a “Megascan Asset Builder” Python shelf tool, and the “My Megascan Component Builder” HDA. After Megascan assets have been imported into Houdini, the user just needs to select the assets and run the shelf tool which will bring the assets into Solaris as the Megascan Component Builder HDAs.
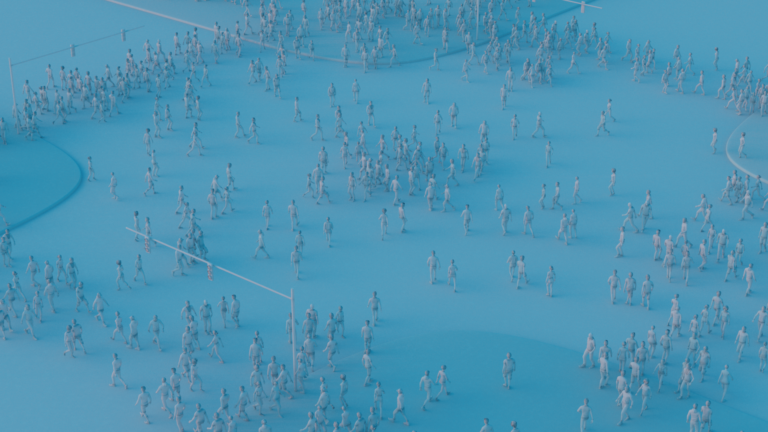
The video below showcases the workflow of how the tool works.
Megascan Asset Builder Python Shelf Tool
Before talking about the HDA, we need to talk about the shelf tool which is what makes the process of bringing multiple Megascan assets to Solaris no matter whether the asset contains variants or not.
After importing all the Megascan assets, the user just needs to select all the Megascan assets they wish to import to Solaris and click on the “Megascan Asset Builder” Python shelf tool. Firstly, it will ask you where you want to save the assets when you save them as USD files. Secondly, it will ask you if you want to save all the assets to the Asset Gallery automatically. This option is for quicker asset generation only and should only be used when you know the assets all look good with the default settings since the material will be converted into a MaterialX setup.
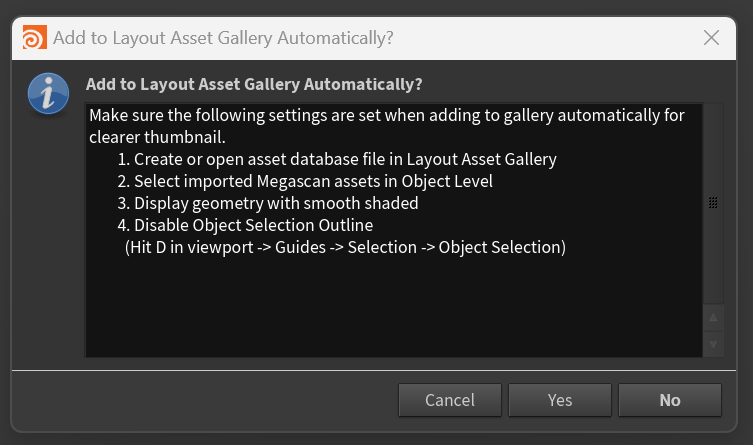
Before selecting yes, please make sure to follow the 4 reminders for the automation to work and for better-looking thumbnails. After selecting yes or no, Houdini will run the Python code to bring each asset to Solaris using my Megascan Component Builder HDA and you will see which Megascan asset has finished from the message dialogue.
While the Megascan Asset Builder runs, it will determine whether the asset contains variants. There are three different types of Megascan assets when you import them into Houdini.
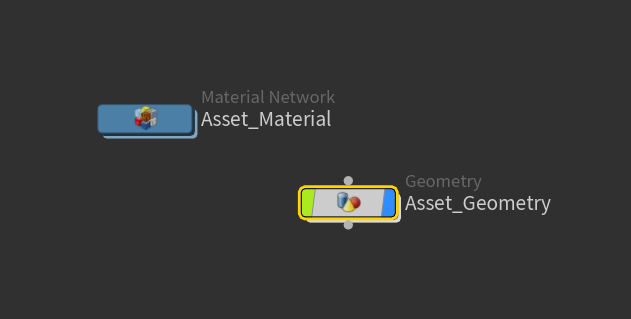
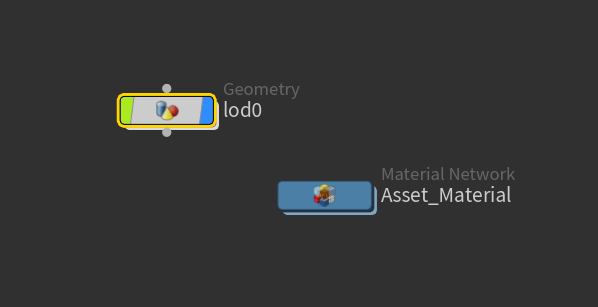
The first type is without any variant. The asset subnet will only contain a Material Network with a principle shader and a geo container with the photogrammetry asset.
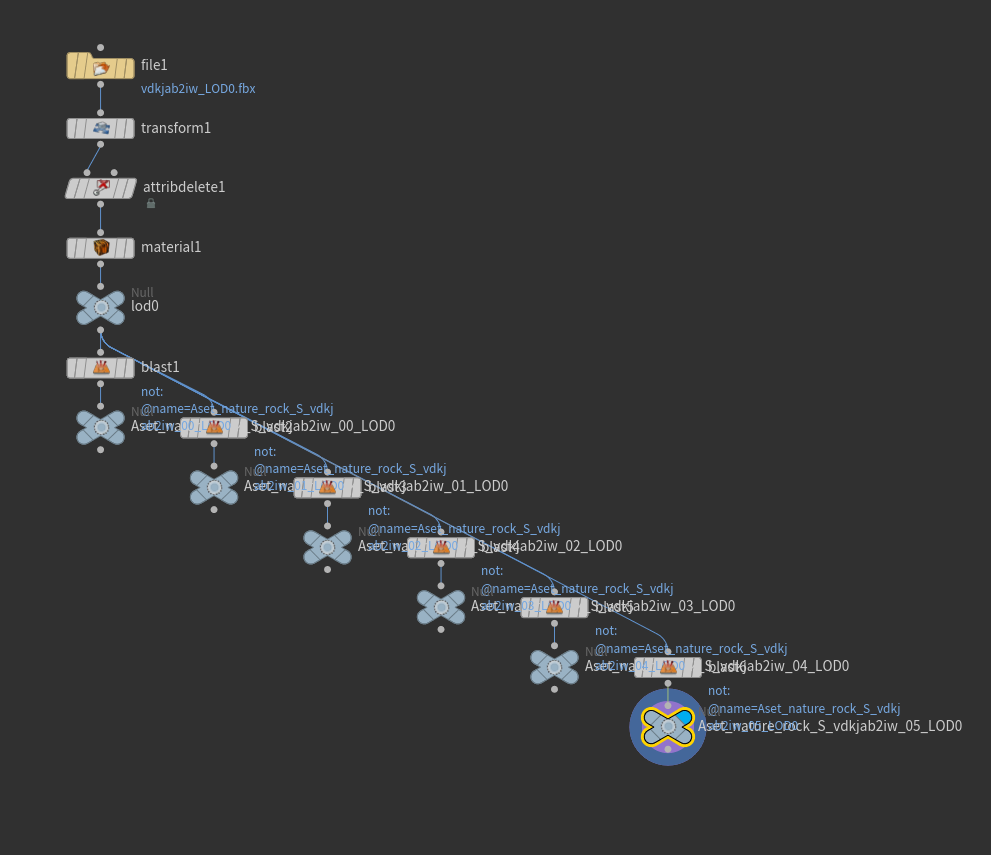
The second type is assets with variants, but variants are all inside one geo container. This type of asset is less common and needs additional steps to separate them from others. Usually, small rock packs will be imported in this type.
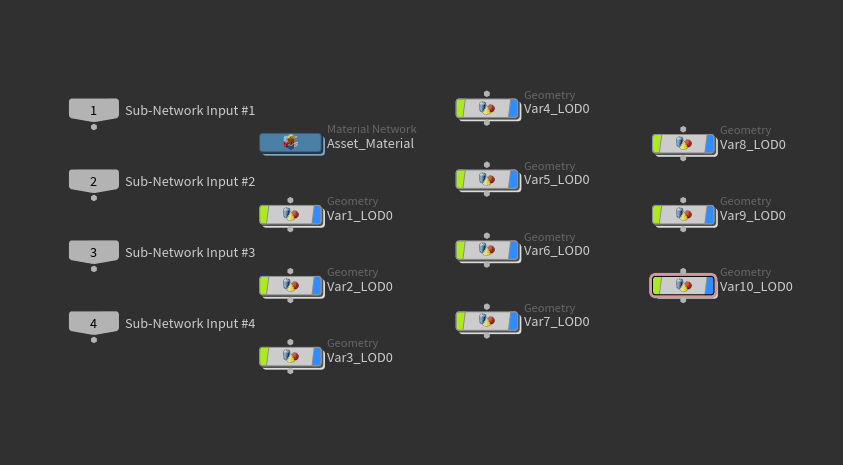
Finally, it’s assets with variants, but the variants are separated into different geo containers. This is the most common variant type for assets like grass and other types of plants.
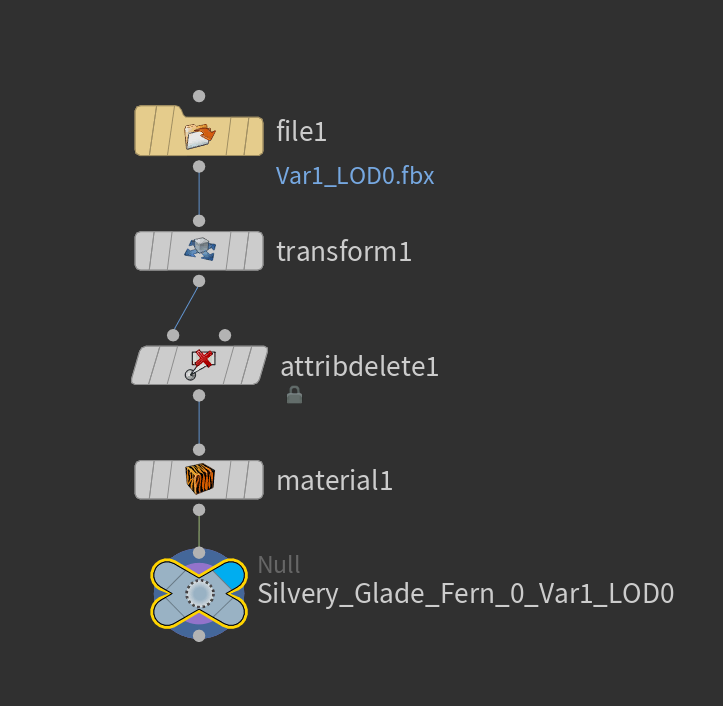
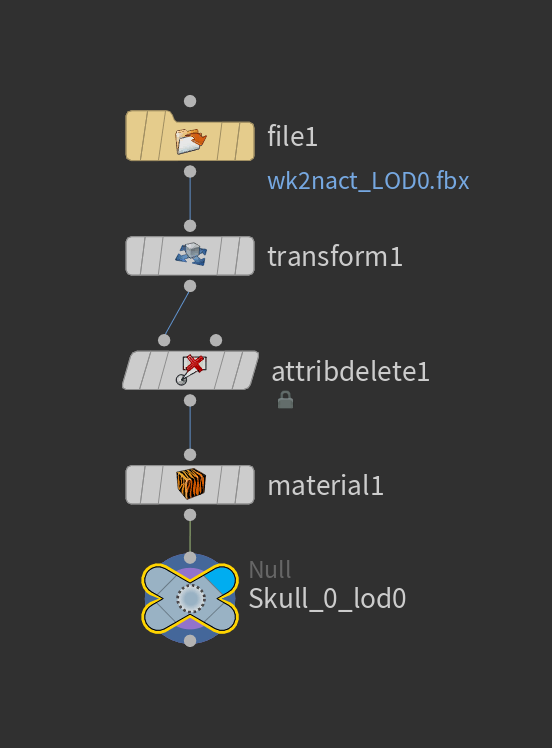
After the Python code has determined which type of asset it is, information such as asset name, file location, and texture names will be collected and set on the parameters on the component builder HDA.
My Megascan Component Builder HDA
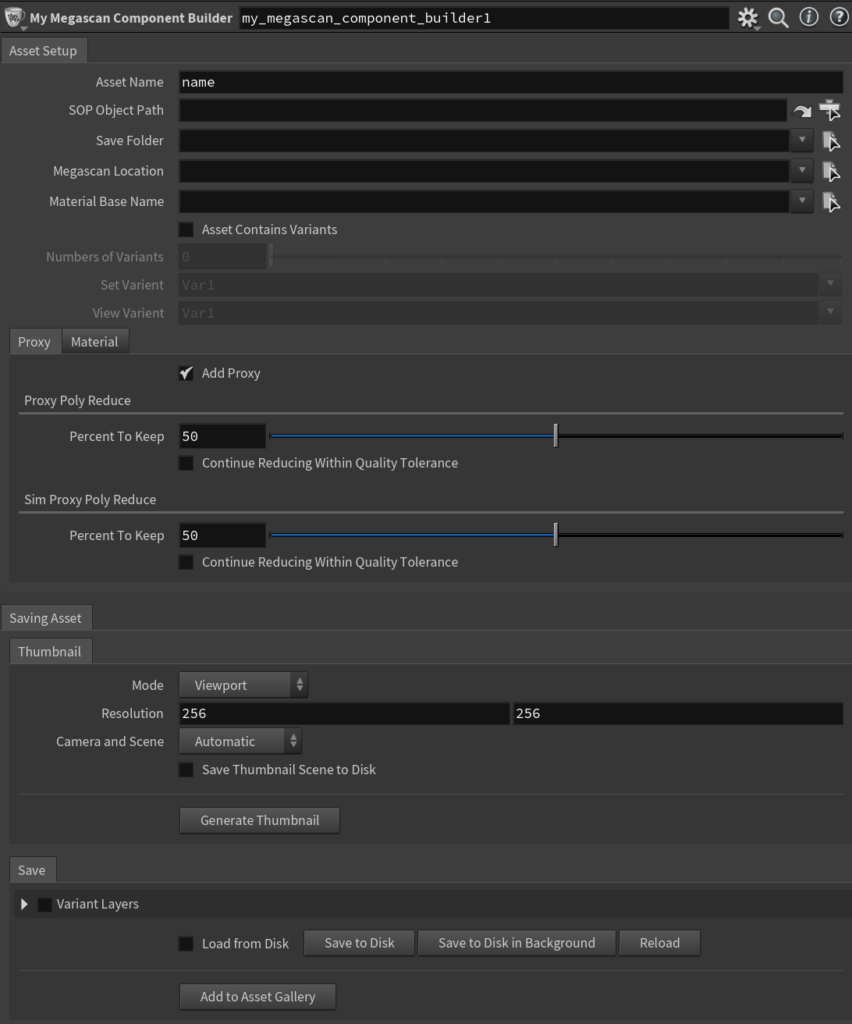
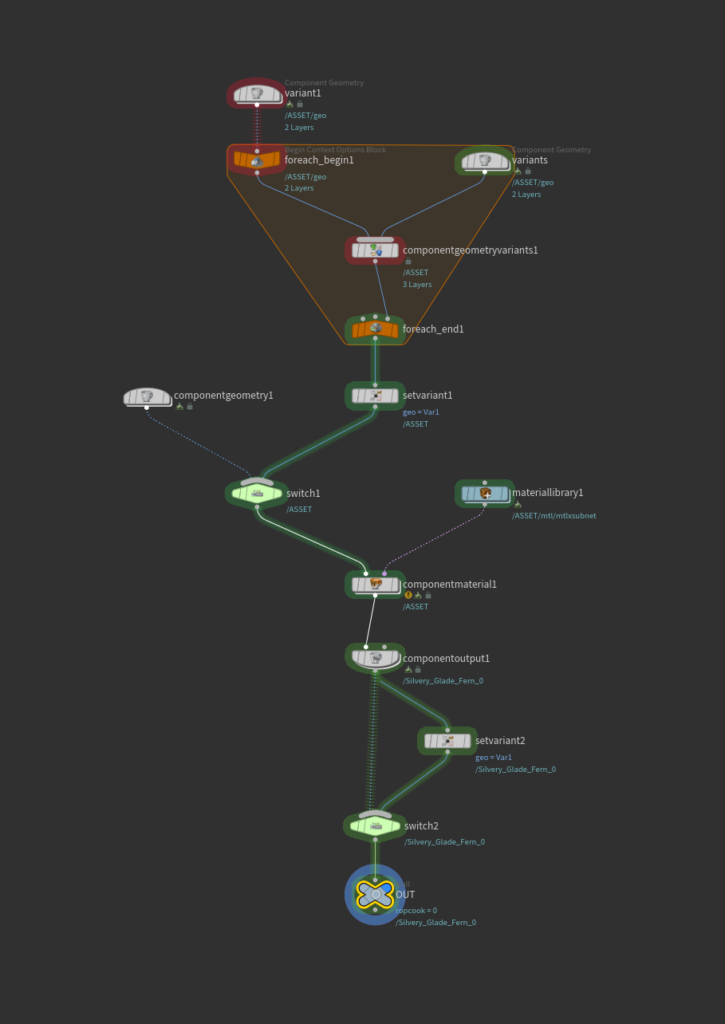
My Megascan Component Builder is an HDA based on the Houdini default component builder you can drop down from the tab menu by typing “Component Builder.”
My version of the component builder was designed to work with Megascan assets by adding features to import variant assets with for-loop, and also MaterialX shader setup.
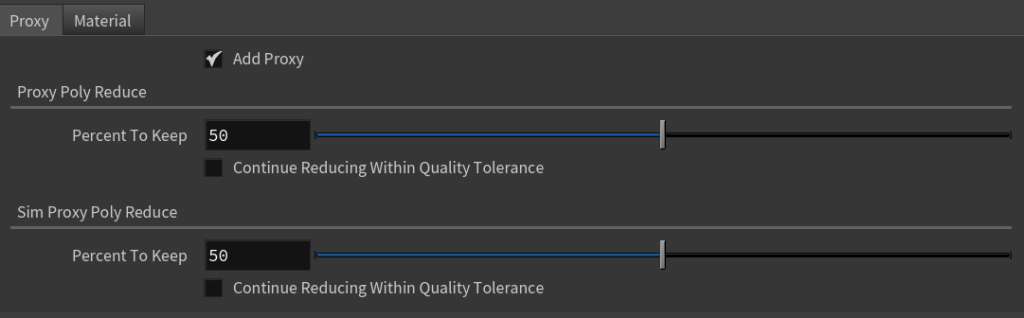
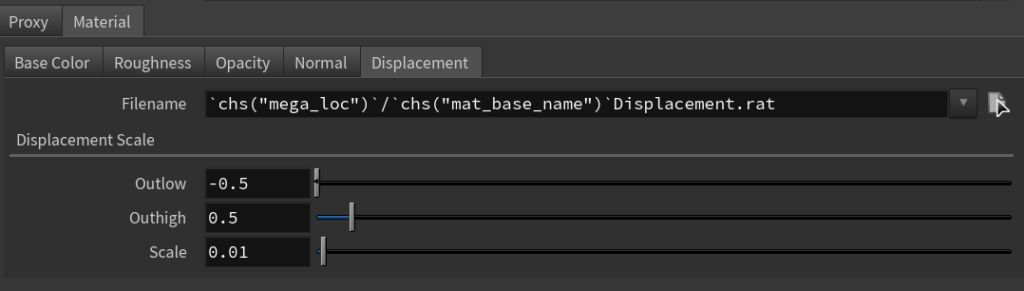
The reason why I mentioned the automation of adding the asset to the Layout Asset Gallery should only be used when you know the asset is ready is because the proxy geometry and material might need adjustment. Although adding proxy geometry is on by default since it can help with viewport display when you have a bunch of geometry, it can be turned off if you don’t need it. Another parameter that might need adjustments before saving out the asset as USD is the displacement. Every Megascan asset usually needs a different scale of displacement.
After they are all set, you can save the asset as USD assets, so the geometry and texture will be saved at the location you specified, and you won’t need to worry if the asset has been deleted from the Megascan folder.
If you want to try out the Megascan Component Builder, you can download the Python file for the shelf tool, and the HDA by clicking the download button below! Hope you enjoy it.
QUICK TIPS
- Python code needs to be added to the script area of the shelf tool not in the otls folder.
- Make sure the HDA is set up correctly before running the shelf tool.
- You can separate the variants in the asset gallery by saving the asset to disk first, and then you will click on the folder icon in the Layout Asset Gallery. There will be two parameters, directory and Variant Sets. Choose the folder that contains the asset for the directory, put “geo” in the second parameter, and click “ok.” This might take a few minutes to run depending on the number of variants, but they will be separated as different assets ready for you to use. (SideFX Forum)