“My Normal Paint Tool” is a tool inspired by this Blender tutorial. I really like the idea of how this is done, so I wanted to recreate it in Houdini procedurally.
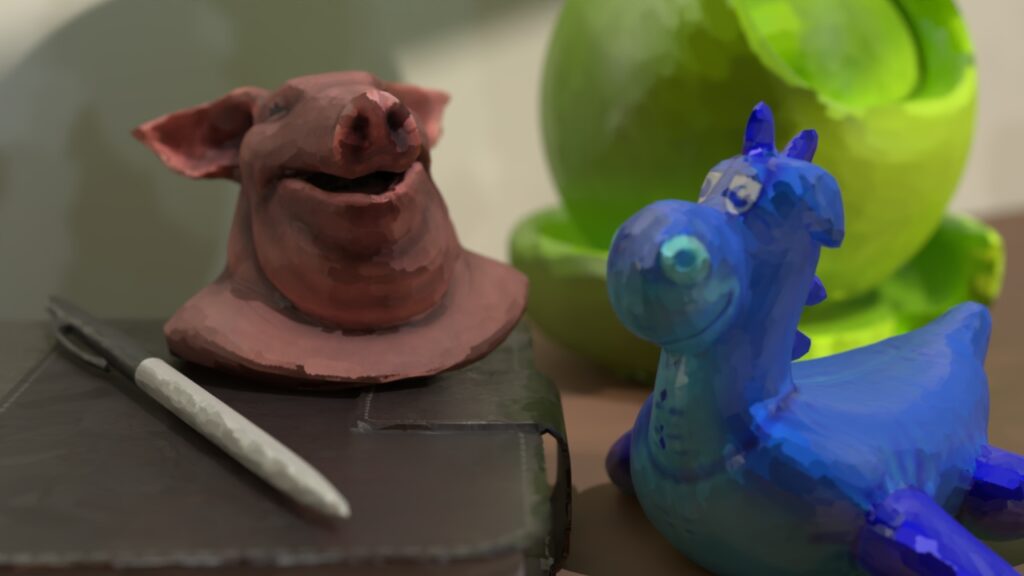
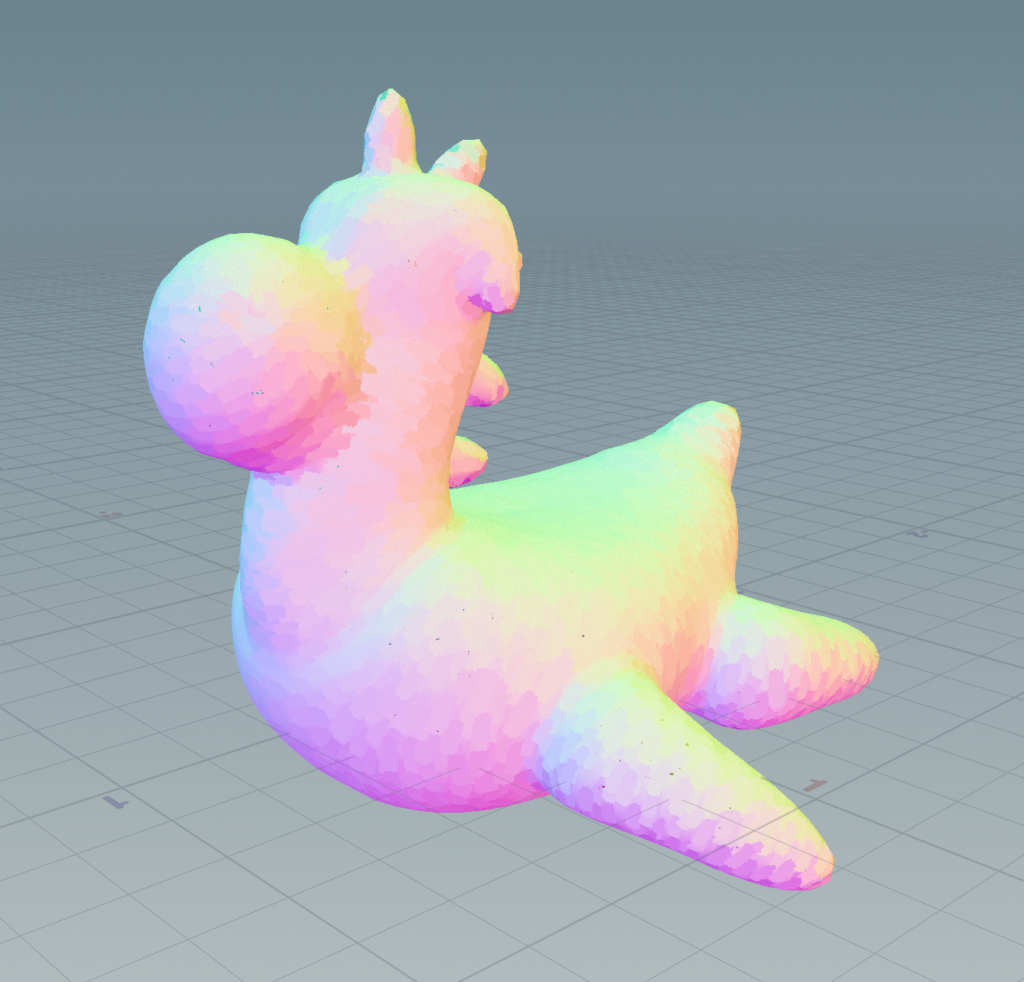
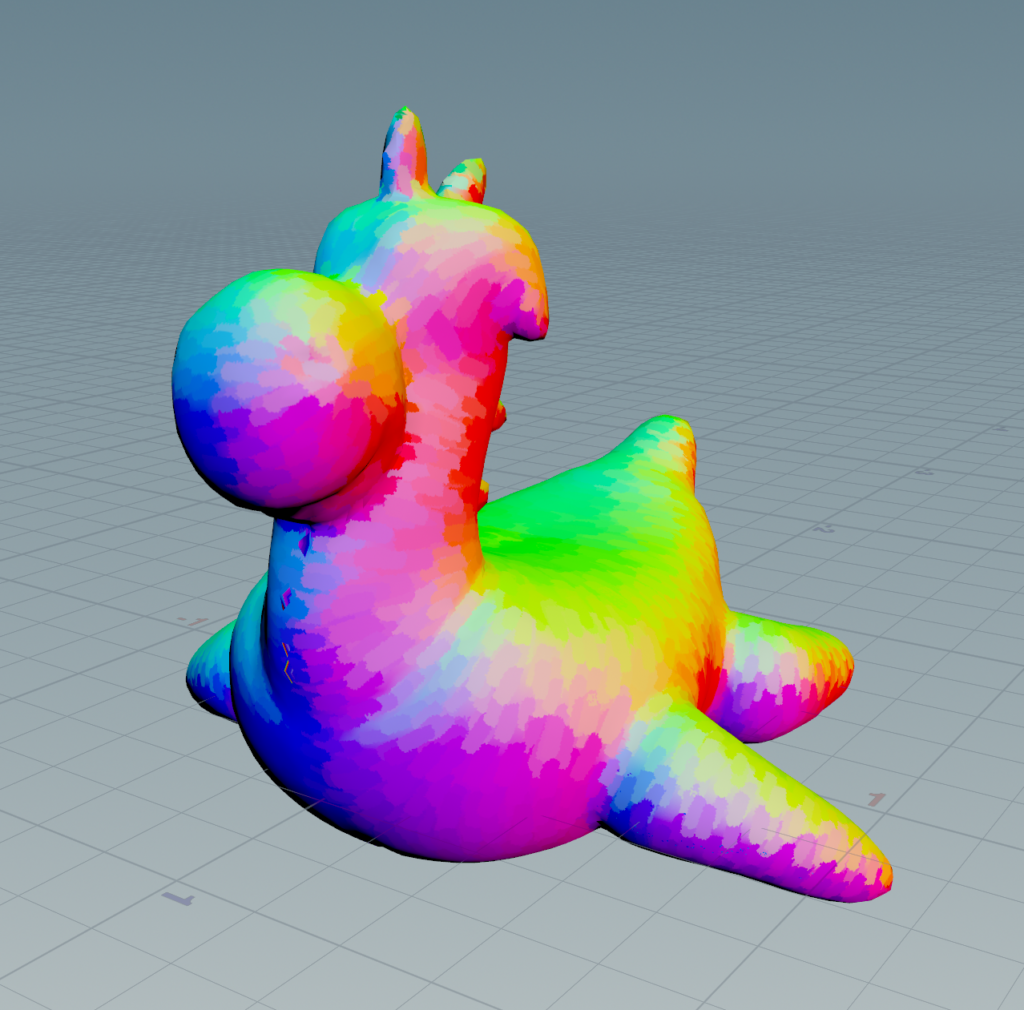
The effect of the painterly look is done because the normal of the same brush stroke area will be the same which creates the painting or clay-like feeling, and he achieved the effect by painting on the normal map directly.
However, this could take a lot of time for a larger scene with a lot of assets. Therefore, I created the HDA which is a procedural solution by scattering brush strokes onto the object.
Here is a quick rundown of the workflow of the tool:
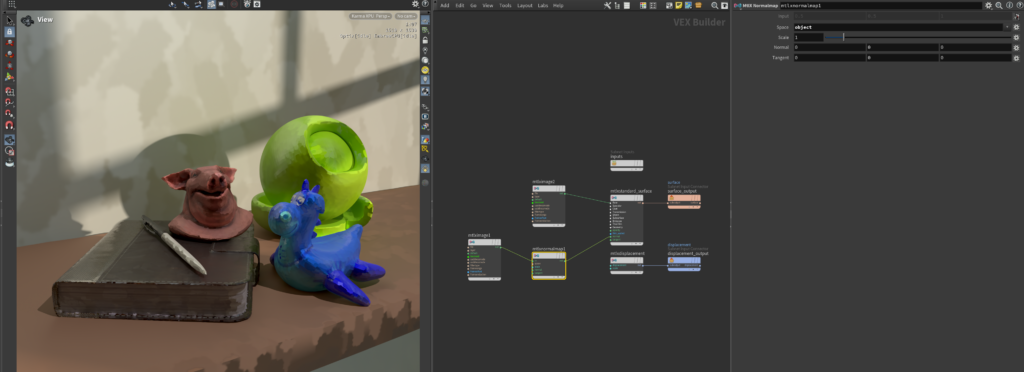
“My Normal Paint Tool” has three inputs and one output. The first and second inputs are the geometry and the brush stroke mesh which are the minimum requirements for the HDA to work. The third input is for additional directional curves. The output will be changed based on the preview output on the top of the parameters.
The basic workflow of the tool is to work through each option from the Preview Output dropdown menu and adjust the parameter accordingly. The Menu options are listed as follows:
- Original Mesh
- Strokes Direction
- Paint Strokes
- Curvature Scale
- Point Cloud Resolution
- Result (Point Cloud)
- Result (Mesh)
- Result (UV Point Cloud)
Original Mesh
This menu option allows the users to output the original mesh without any changes. It allows you to connect other nodes right after without changing anything.
Strokes Direction
Strokes Direction lets you preview the direction of the paint strokes in the viewport. Without inputting custom curves, there are 4 defaults to choose from under the “Paint Stroke Direction” tab. They are generated by using the “tangent field” node.

Users can also input custom curves to direct the brush strokes. By checking the “Custom Direction Curves” checkbox, the third input which is for the curves will be required. A quick and easy way to create curves is by using the “draw curve” node. You can connect the geometry to the node and draw curves directly onto the object. Some adjustments users can add are masking and adjustment amounts. Masking allows only a certain portion of the direction to be adjusted, and the adjustment amount can be used to blend between the default and the custom curve direction.
Paint Strokes
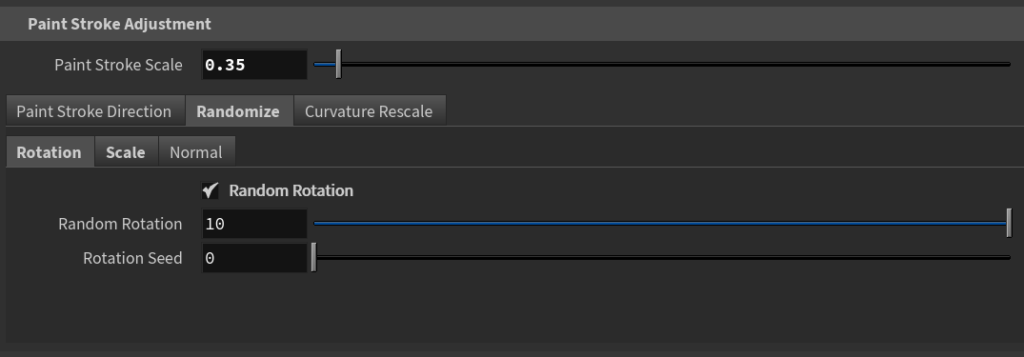
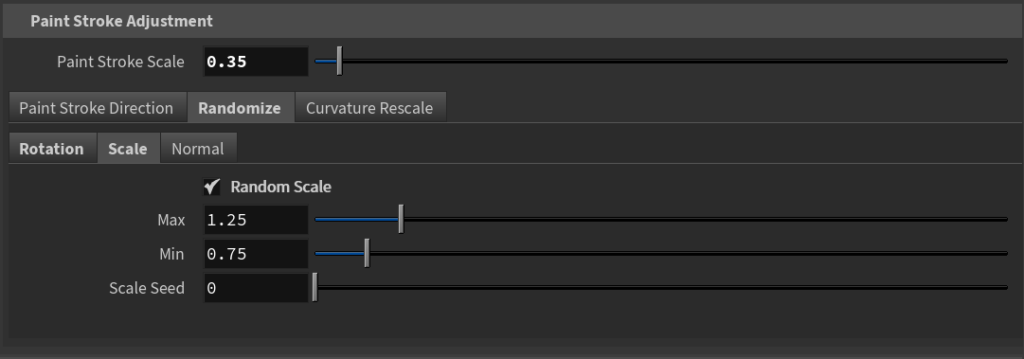
The Paint Strokes menu option allows the users to preview how the paint strokes will look before calculating the final result. You can adjust the density and scale of the paint strokes directly. If you need some randomization, you can also enable the randomize rotation and scale under the randomize tab.
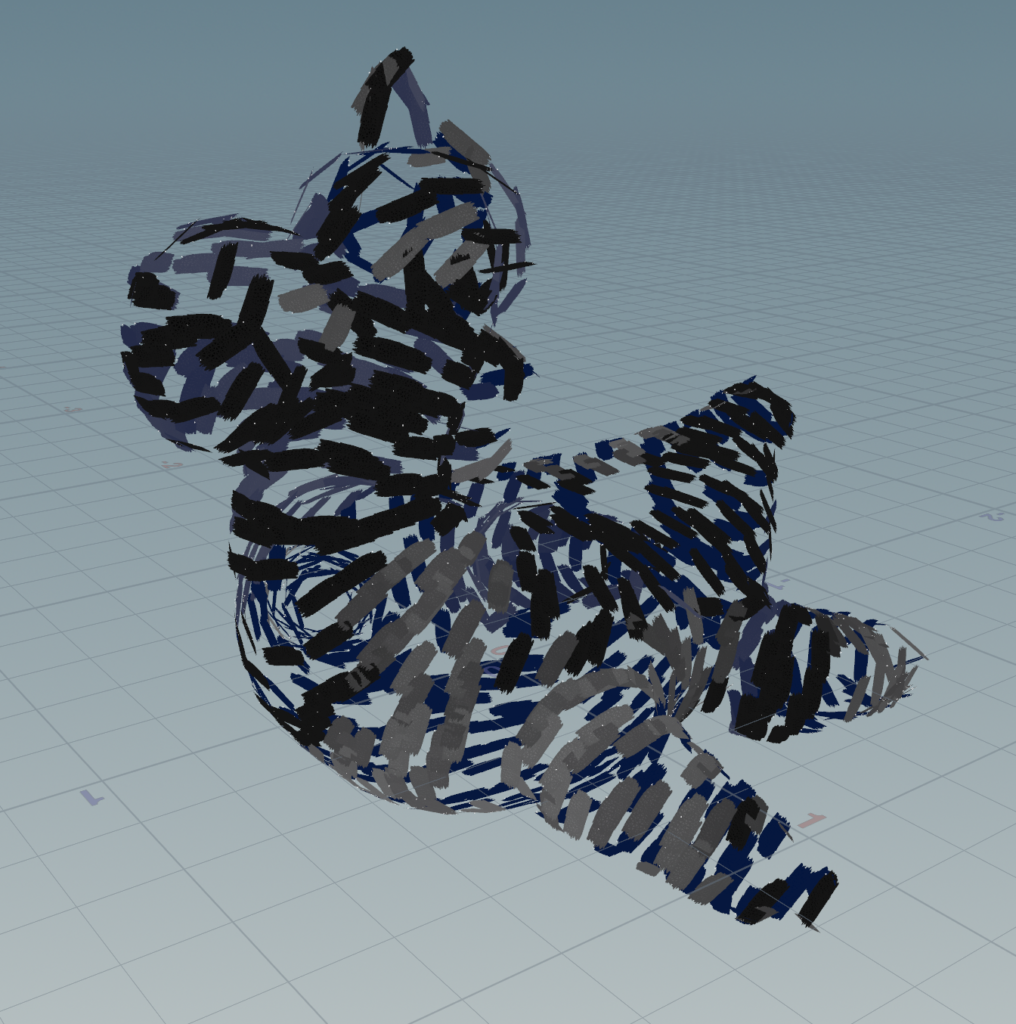
Also, remember to check the “Multiple Paint Strokes” and specify the primitive piece attribute of the brush strokes if you are using multiple different brush strokes.
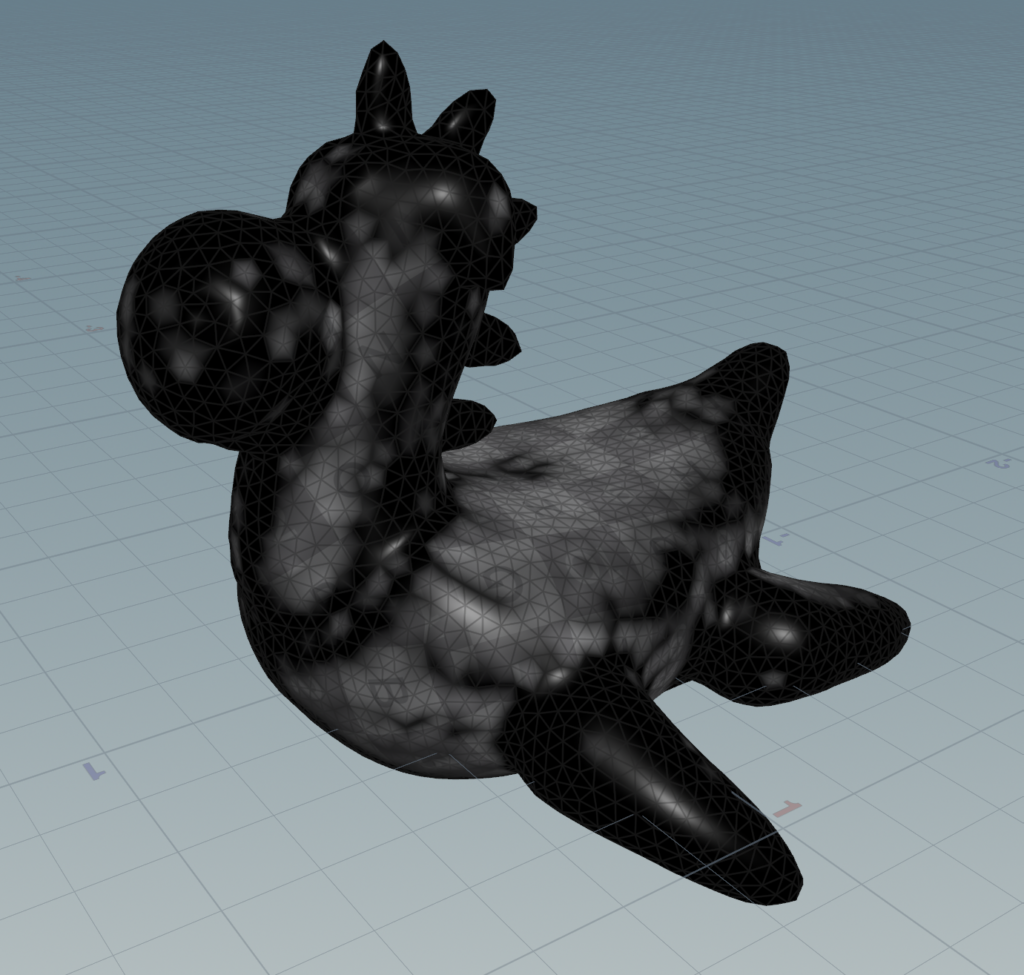
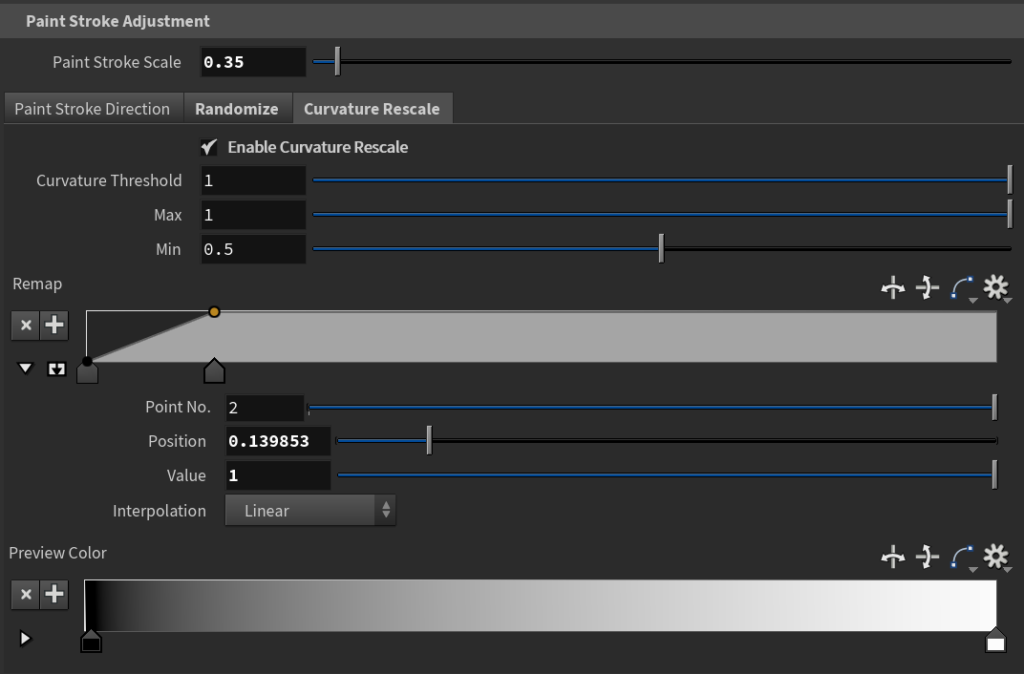
Curvature Scale
Curvature Scale is off by default but can be enabled under the “Curvature Rescale” tab. This is used when you want to scale down brush strokes based on the curvature of the geometry. This is useful in preventing brush strokes from being stretched out at a high curvature area when it is being rayed onto the geometry. In the Rubber Toy example, places like the back of the neck will benefit from enabling this option.
Users can use the remap to adjust the area being affected and change the min and max scale by changing the parameter above the ramp.
Point Cloud Resolution
The “Point Cloud Resolution” tab allows the users to see the point cloud that will capture the brush stroke information. More point equals more details but also more data takes longer to calculate.
“Paint Transfer Threshold” and “Paint Blend Width” are used to adjust how the brush stroke data is transferred onto the point cloud. Lowering the threshold can increase the detail, but don’t go too low. Another thing to remember is to mesh brush strokes mesh so there are enough points on the primitive for attribute transfer to work properly.

Results
After all the things above look good, you can switch to any of the three result menu options to see what you get!
You can go back to change the parameters above if you don’t like the result. One thing to pay attention to is the “Strokes per Batch” parameter. In order to increase the speed of the tool, I implemented a batch calculation method in which multiple brush strokes will go through the copying process at once to reduce calculation time. Increasing the number will increase the speed, but it also increases the chance of overlapping brushstrokes being calculated at the same time which might cause some artifact in the final result.
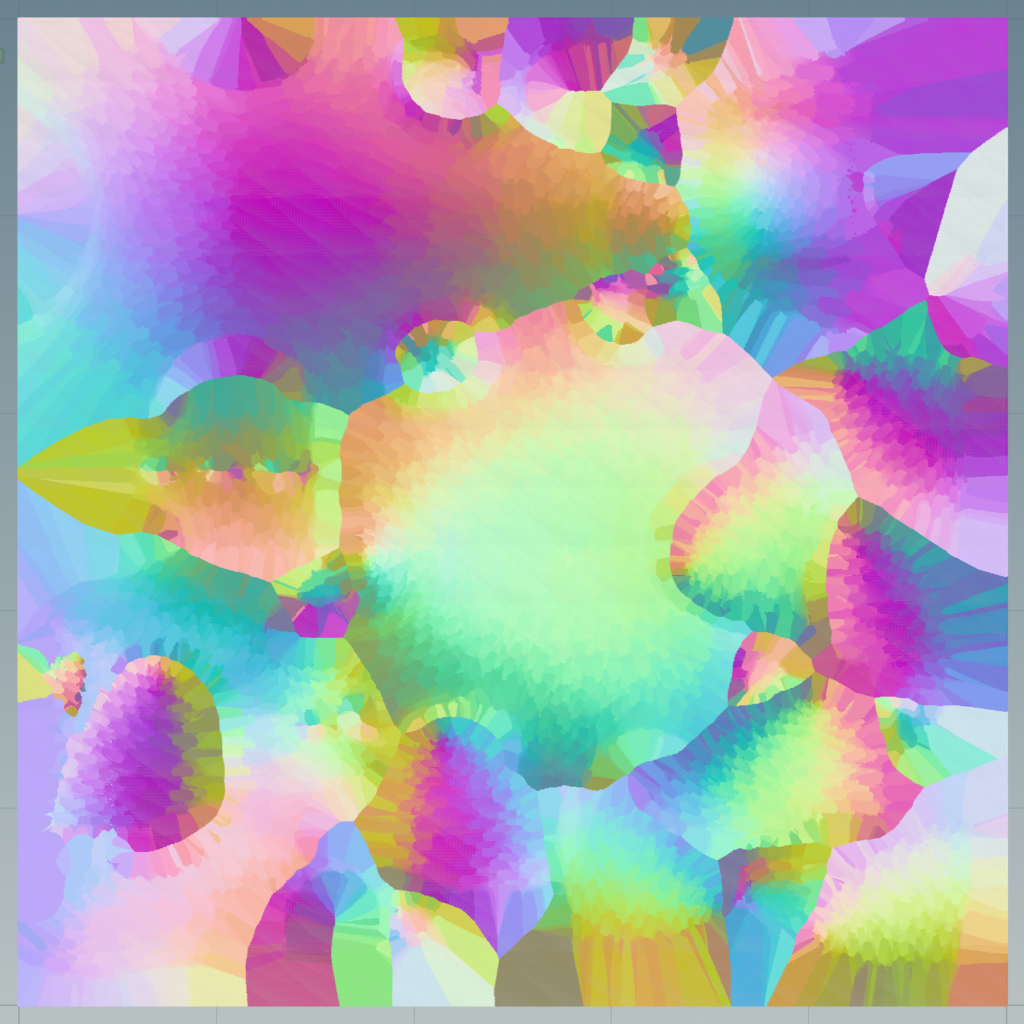
Point Cloud
Mesh
UV Point Cloud
The point clouds show the normalized object space normal, and Mesh is a UV quick shade of the normal map. If you are happy with the result, you can now adjust the render option, output path and bake out your normal paint map!!!
QUICK TIPS
- Make sure the input geometry has a UV attribute.
- Use the Force Compile button if the resulting mesh is not updating.
- Enable Randomize Normal for the object that has large flat surfaces like a wall or table.
- Make sure to use the “OBJECT” space normal when rendering.
You can download and test out the HDA by clicking the download button below! Hope you enjoy it!