“My Wetmap Simulator” is a tool that I created while creating the river project. Before creating this tool, I used to create the wet map by using attribute transfer onto points of the geometry. However, the cons of this method is that the resolution is limited to the resolution of the geometry. It would look very bad if the geometry didn’t have enough points. Consequently, that’s why I created the wet map simulator since the wet map is saved as a texture map instead of point attributes.
The tool takes in the geometry and fluid simulation and bakes out a wet map texture that can be used as a mask in shading. It requires two inputs and two outputs. The first input is for the surface or point cloud of the geometry that is getting wet. The second input is where the user inputs the fluid. The first output will output the same geometry as the first input, and the second output is for previewing.
The way the tool works is that it will first generate a point cloud if the input is geometry. After that, the point cloud will go through a solver that will run an attribute transfer for every frame with the previous frame. Additionally, it will run through a series of attribute wrangles to calculate drying, spreading, and then blur the wet attribute.
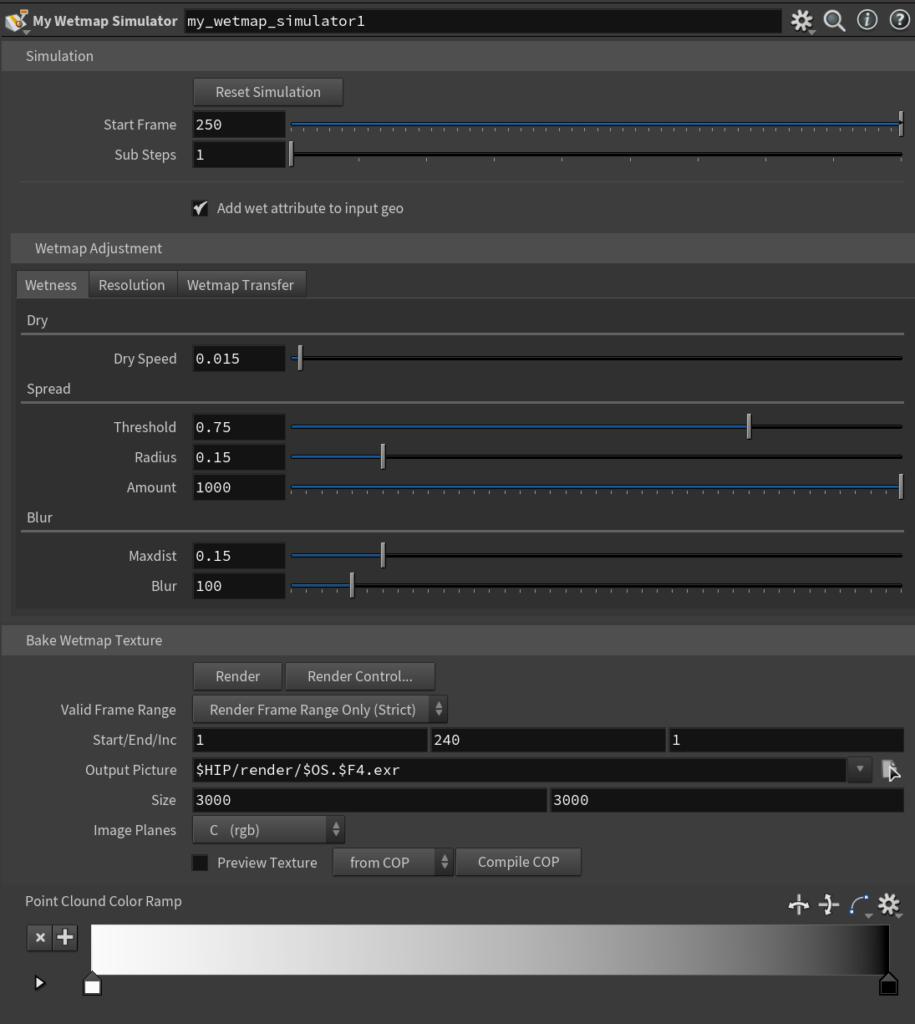
Here is the breakdown of the parameters:
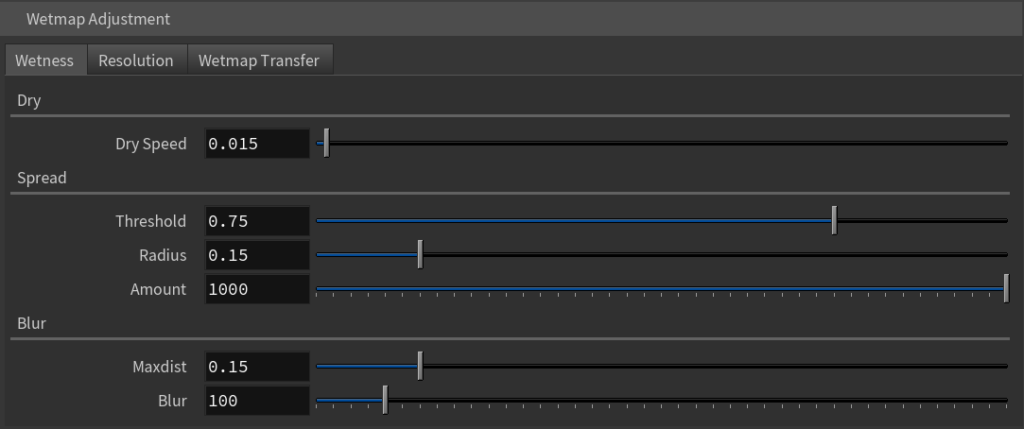
Dry Speed controls how fast the wet attribute reduces every frame.
Spread Threshold controls points with wetness above the threshold will spread the wet attribute to the number of points limited by Amount within the Radius. Increasing the threshold will overall increase the wetness, and will stay more wet over time.
Blur will blur the wet attribute of the previous frame before attribute transferring the new wet attribute. Max distance controls the radius around each point that it will take the average wetness from, and Blur controls the number of points within the radius that will be averaged.

Resolution controls the density of the point cloud, and Relax iterations control how even the points are scattered.

Wetmap Transfer controls the strength of the attribute transfer.
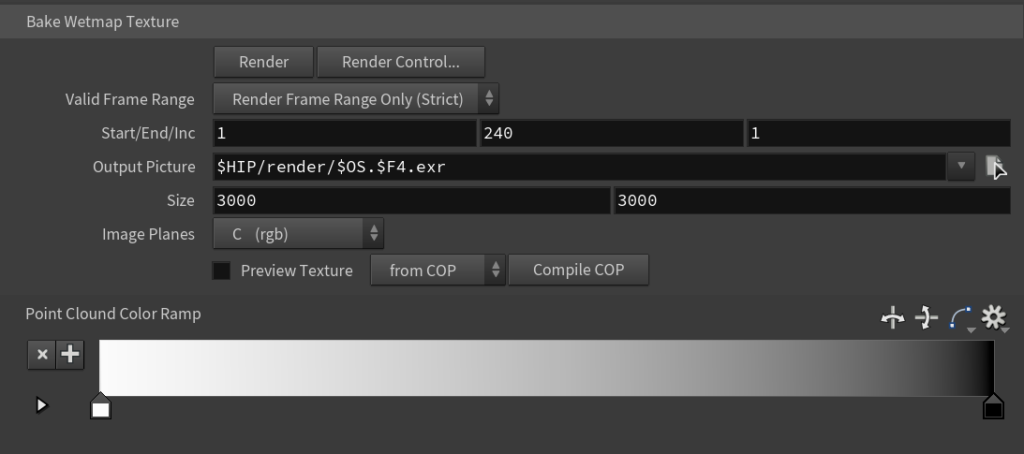
You can change from previewing point cloud to texture map by checking the “Preview Texture” check box, and you will be able to choose to preview from COP or baked texture. If everything looks good, you can now bake out the wet map texture! It will be a black-and-white float value image that you can use in shading combined with a color-correct node to create the wet effect.
QUICK TIPS
- Click Compile COP if the texture preview is not updating.
- Make sure you have a UV attribute on the first input geometry.
- You can boolean out the areas that will not be wet to save calculation time.
You can try out the wet map simulator by clicking the download button below! Hope you like it.