This is one of the personal projects I have been working on during my time as the Education and Training intern at SideFX. For the goal of this project, I want to learn FLIP fluid and the Solaris USD workflow.
The project is created in Houdini 20, and the scene is exported as USD files and rendered with Karma XPU. All assets are procedurally created except branches and plants are Megascan assets, and everything is shaded with Material X.
Since FLIP fluid is something that I am not as familiar with, I decided to create a river scene for my personal project when I saw this render. I like how he created the scene with Megascan assets and added the tiger to make the scene even more interesting.

This is the mood board I created for the project. When making this, I didn’t anticipate the amount of time I had. That’s why I also included several different animals that I can add to the scene.
The video below is the RnD render I have while testing out how fluid works, and how I want to set the scene since I am adapting the terrain geometry from another project done by other interns. I created the base shapes first by combining some boxes and tubes, and then VDB them together and added some noise. After I was confident with the setup and the result I had, I moved on to replacing the base with rocks that I could render.
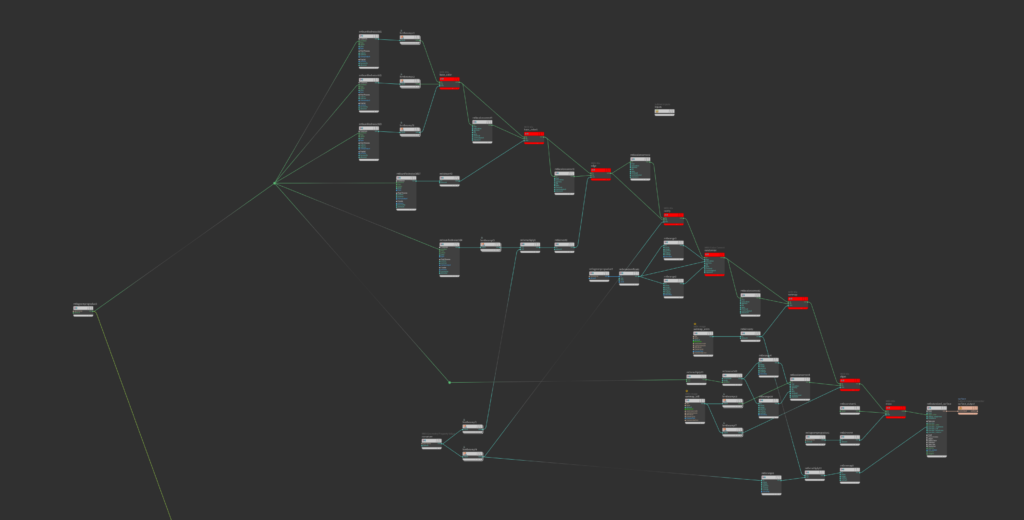
After the RnD phase, I found out that it was a great opportunity for me to create my own tools and HDAs that can be reusable or can speed up the process. One of the examples is that my original plan was to use photogrammetry rocks from Megascan to replace the proxy box tubes I had. However, I realized that they were not in the desired shape and size that I wanted. That’s when I started to experiment with creating my rock generator for the project, and a megascan component builder for quicker megascan USD asset creation. Here is a list of the tools I built while working on the project. Please click the link to see more details on what the tools do and my thought process behind them.
- HDA – My Smooth Fluid Surface
- HDA – My Rock Generator
- HDA – My Wetmap Simulator
- HDA – My Megascan Component Builder
- Solaris Command Line Render Tool
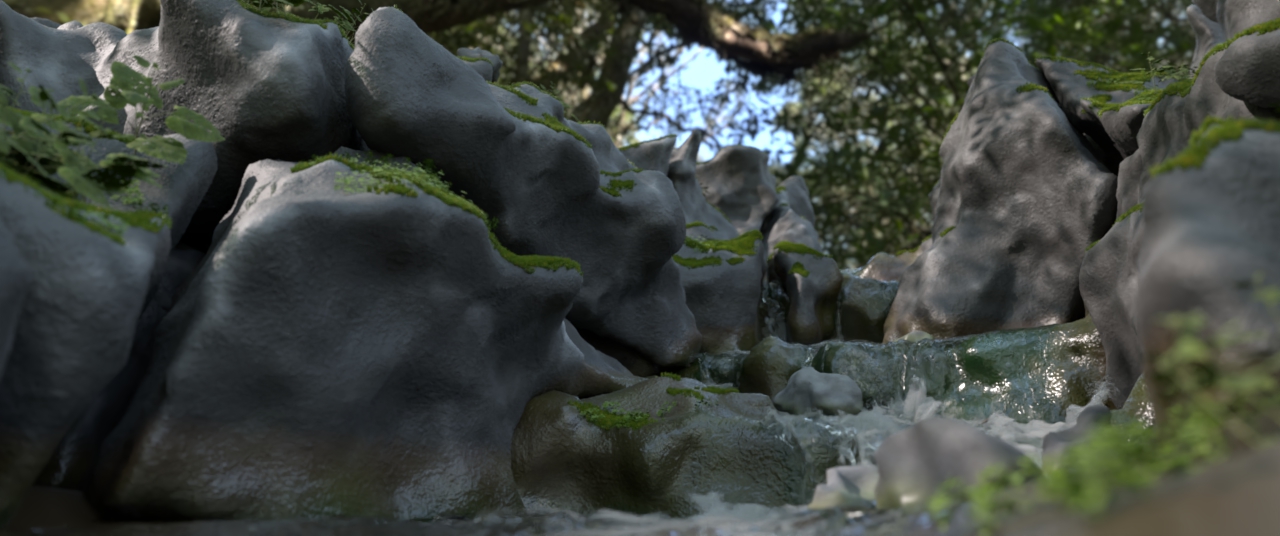
Riverbed Rocks
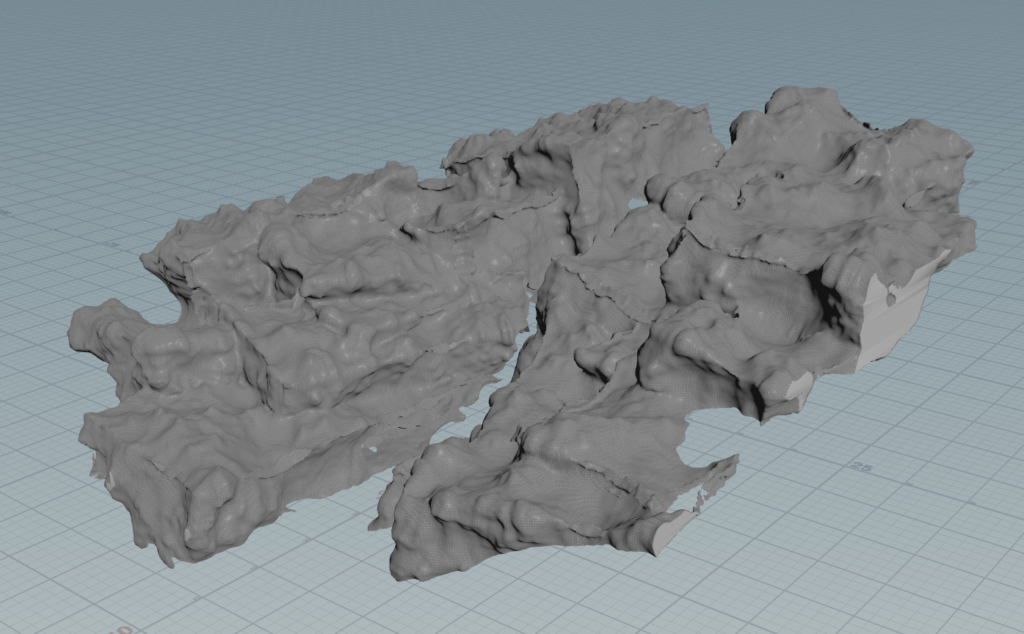
As I mentioned above, my plan to use Megascan rock assets for the riverbed didn’t really work out, so I created my own rock generator. I followed along with the Magic Market tutorial series to create the tool and added some of my own modifications to increase the performance and result. You can learn more about the tool in the Rock Generator blog. I really like how the tool turned out.
Here’s how I implemented the tool in my scene. Firstly, I boolean out the proxy boxes with the base river mesh that I am building on top of, and then I VDB combined them into one big piece for Voronoi fracture. Secondly, Each piece was fed into the rock generator to make it into a rock shape. Finally, I ran them through an RBD sim for them to fall and collide with each other since there are more gaps between them after going through the rock generator.
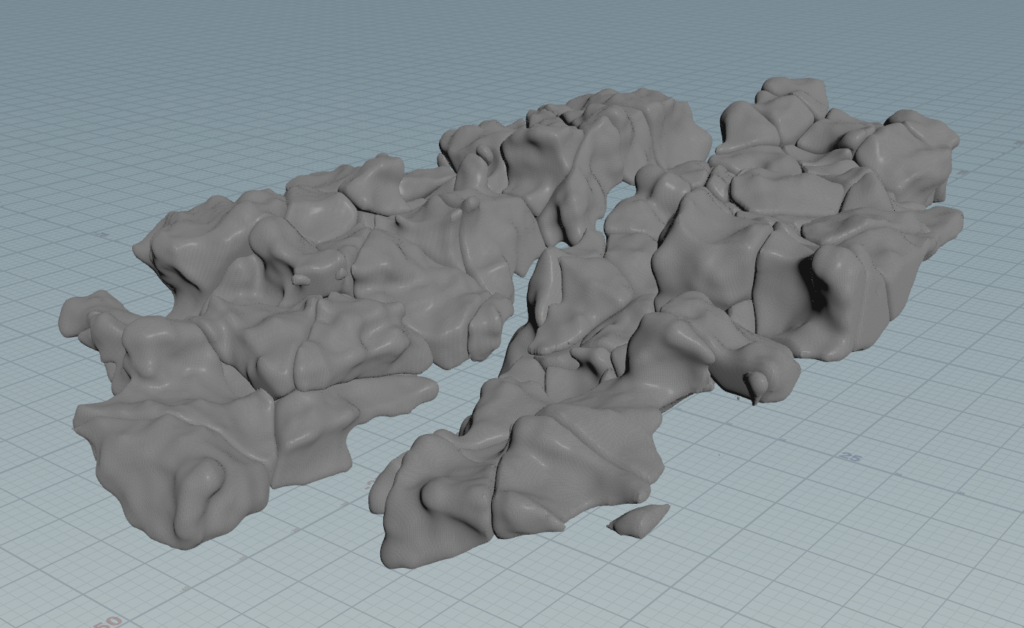

After the big rocks were all settled, I added different sizes from small to medium rocks by scattering and using RBD sims to rain the rocks down from the sky to have a more physically accurate placement of the rocks.
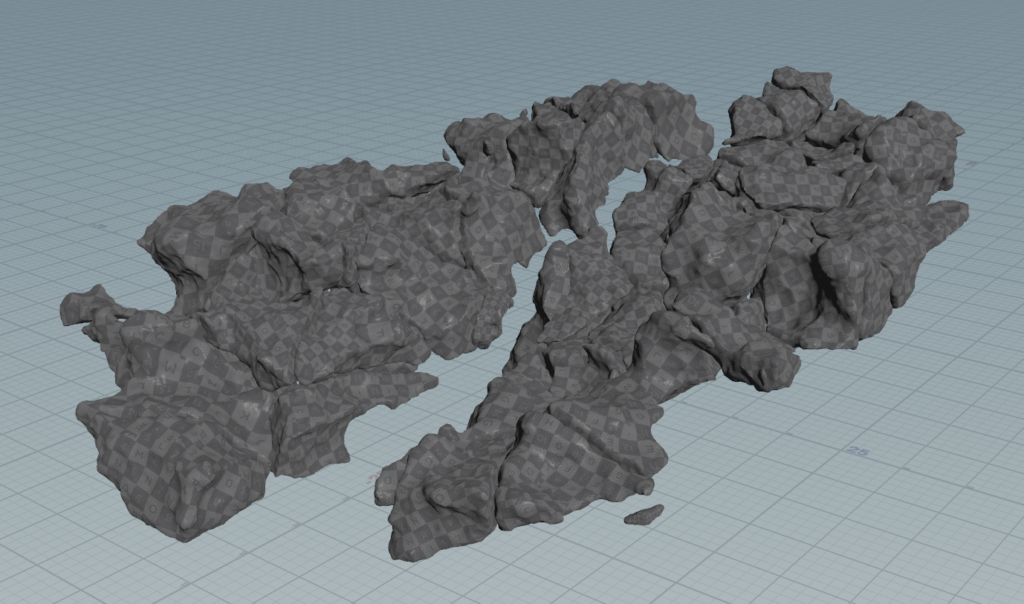
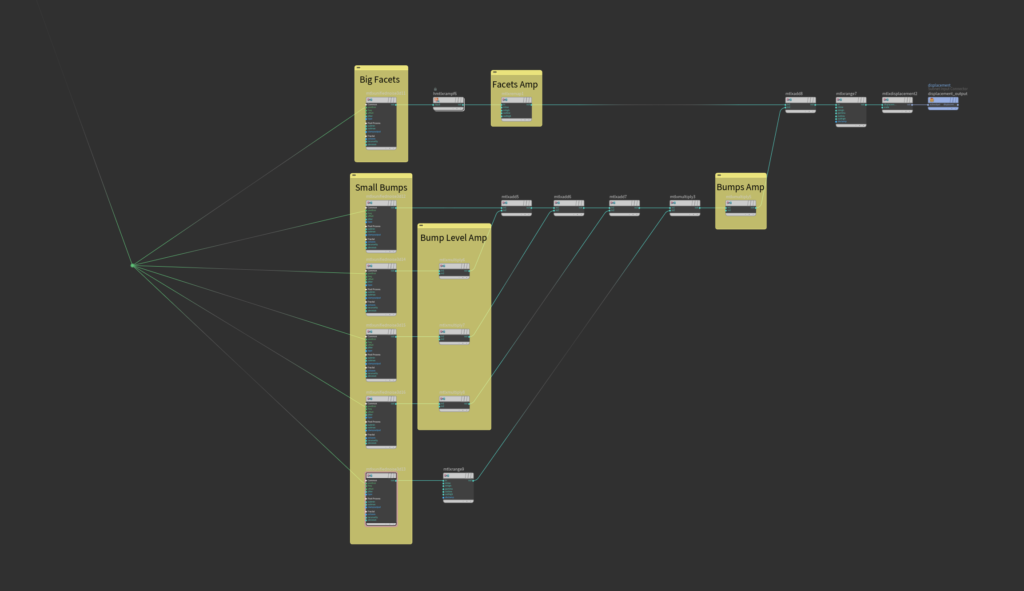
Finally, all the rocks are procedural shaded with MaterialX. I won’t be going through the details of the shaders, but it consisted of multiple layers of details such as color, moss, and wet map layering on top of each other. It can still use some work to add finer details to make it more realistic, but I am happy with the result for now and I will be moving on to adding the trees in the background first.
Color and Roughness
Displacement
Branches
The branches from Megascan work pretty well in this case. I used my Megascan component builder to bring the branch assets from Megascan to Solaris as USD assets, and then I used an “SOP Modify” node and did an RBD sim to drop the branches down to the rocks.
Fluid
Since I had the experience in the RnD phase, it went a lot smoother when I was trying to create this version of the river.
One of the challenges I had during the RnD phase was that the fluid would gain volume as the water went down the stream. It was caused because of the fast-moving water and the small waterfalls. Reseeding was trying to add in too many particles that weren’t needed.
The only problem I had in the final version was that I had to find holes under the rocks and block them because there were a lot more gaps under the rocks now. My solution to this was blocking all small gaps that would not been seen with some boxes, and shifting the geometry of the base up at certain areas to ensure fluid will only run through areas that will be seen.
Plants
Plants are the last thing that I added to the scene. They are also assets from Megascan, so I used the Megascan Component Builder I created to turn them into USD assets. After that, I added them to the Layout Asset Gallery to scatter with the layout node. This is definitely my first time scattering assets this way, but I think it is really cool and I like how it turns out.
Hopefully, I will have more time and computer power in the future to re-render this, and maybe with a different camera angle!